Hey everyone!
I am starting a thread here on The Mod Zoo for my upcoming water cooled upgrade for the ROG Gene V TJ08-E. I was wanting to have a watercooled build that did not look like all the others... It is especially hard with a small case such as the Silverstone TJ08-E as there is only a handful of WC products that work in my case... So I decided to use hard acrylic tubing with the help of B Negative's tube bending guide. I must just warn everybody that this thread is photo heavy, so there is a 56k modem warning here for those of you using dial-up internet, or with a limited mobile surf packet!
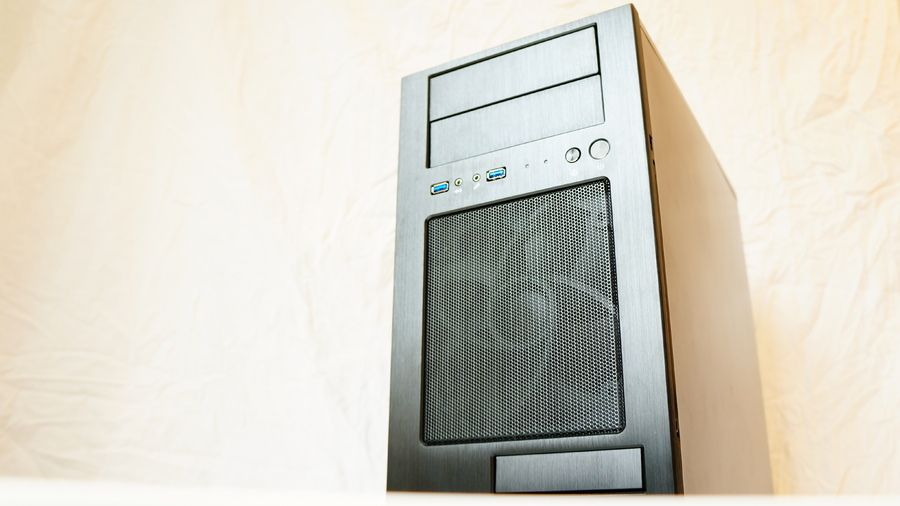
First I would like to explain where this build has come from, and what I plan to do with it in the future. Best to explain with pictures! Here is how my PC looked in January this year:
At this point, I had gained enough courage to try my hand at some modding. I was wanting to have something more unique, something with my stamp on it. So I started out with a couple of projects on making my computer stand out from the rest. What I had in mind at that point was just to sleeve the PSU, and try to make a floor which lit up white to show off the components in my case... The sleeving took a long time, and the light panel failed and looked like poo.
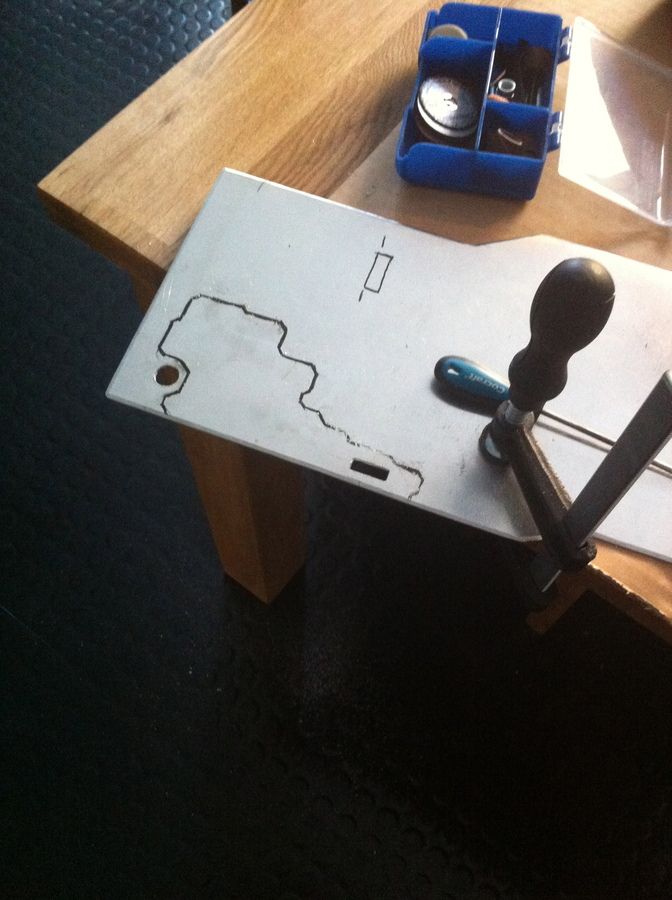
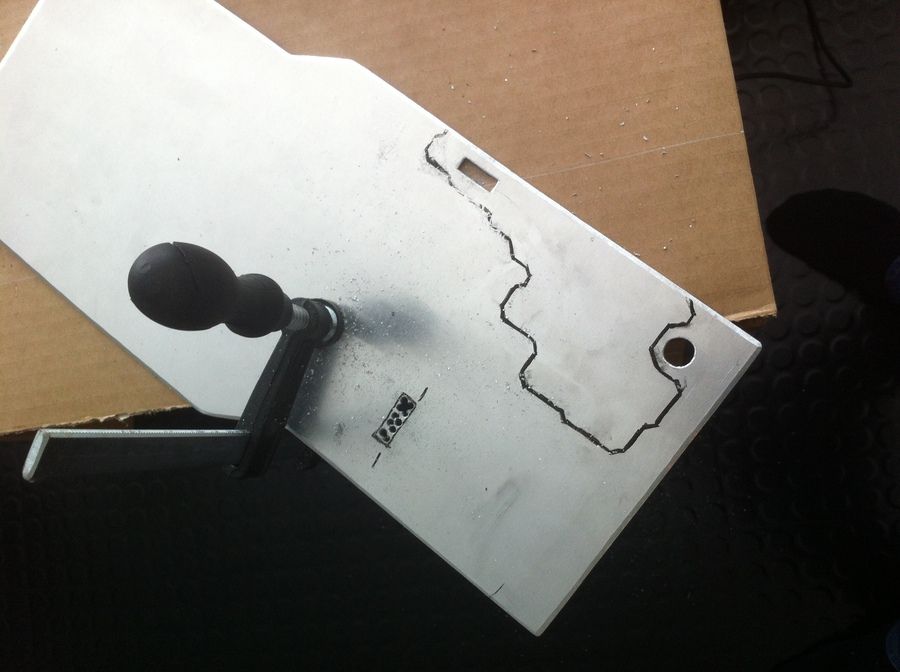
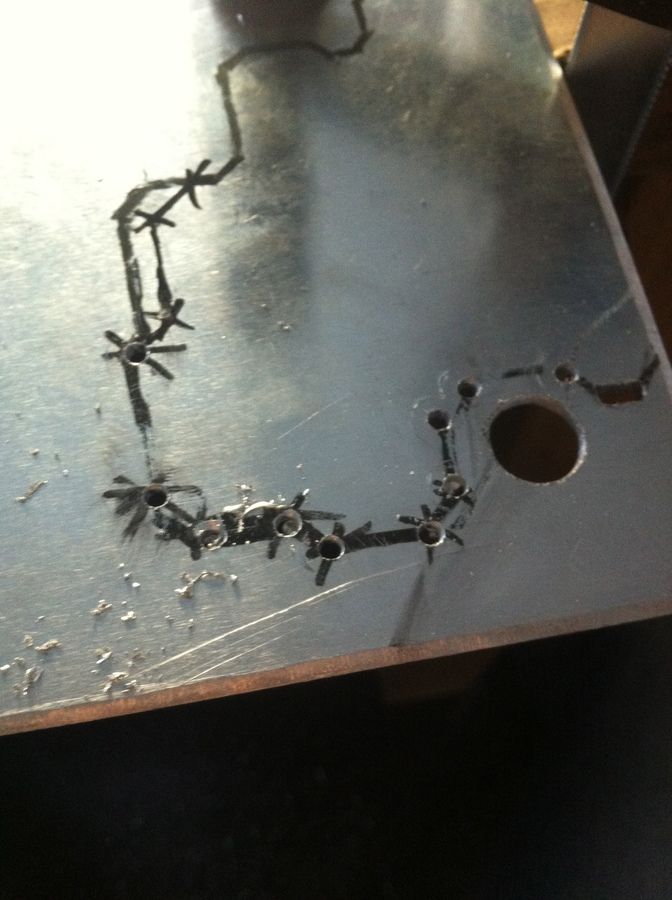
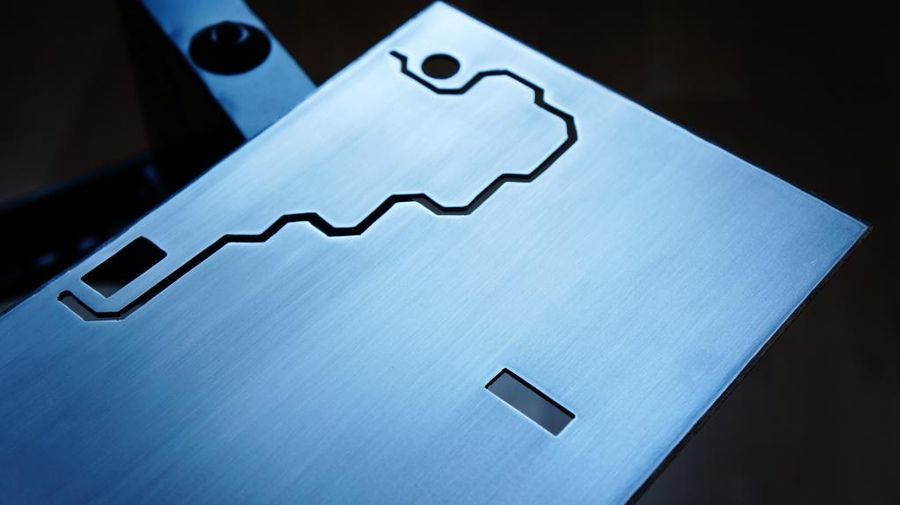
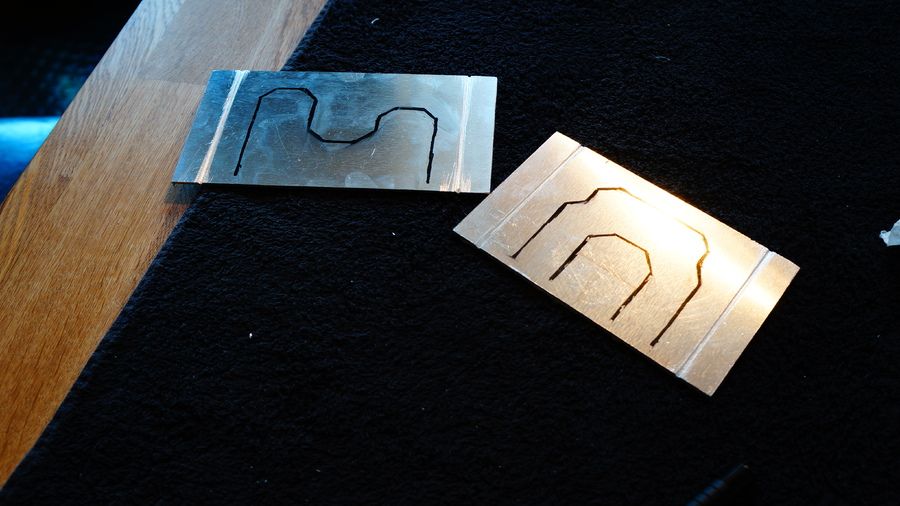
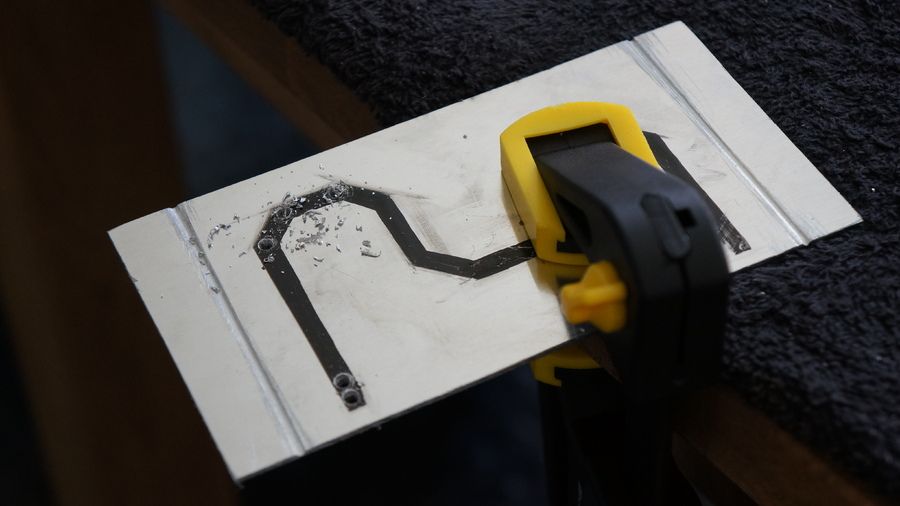
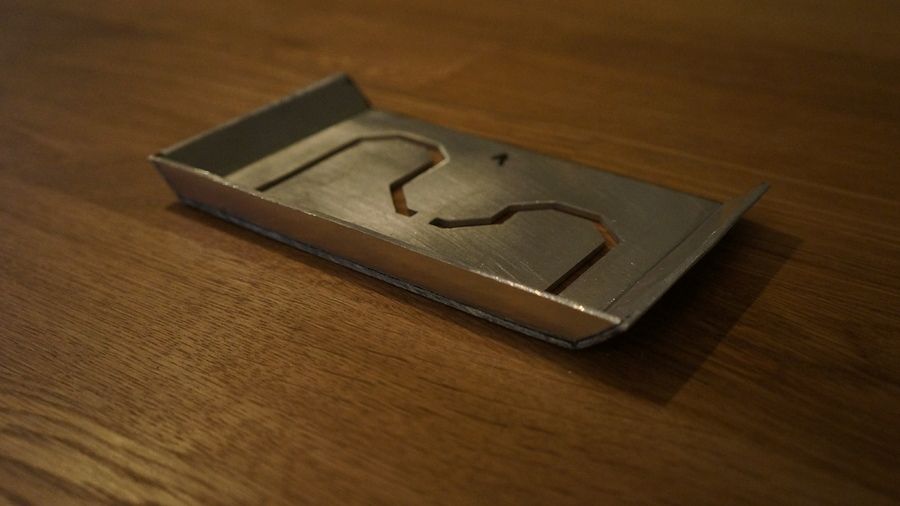
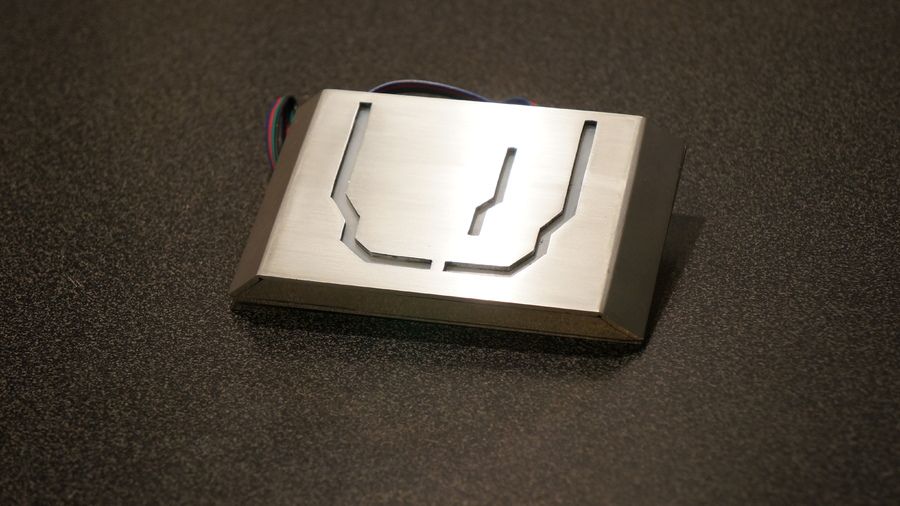
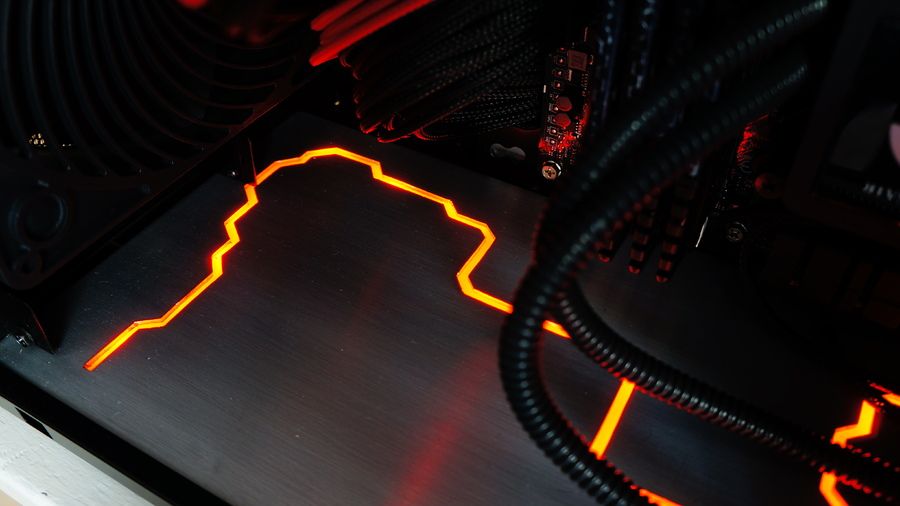
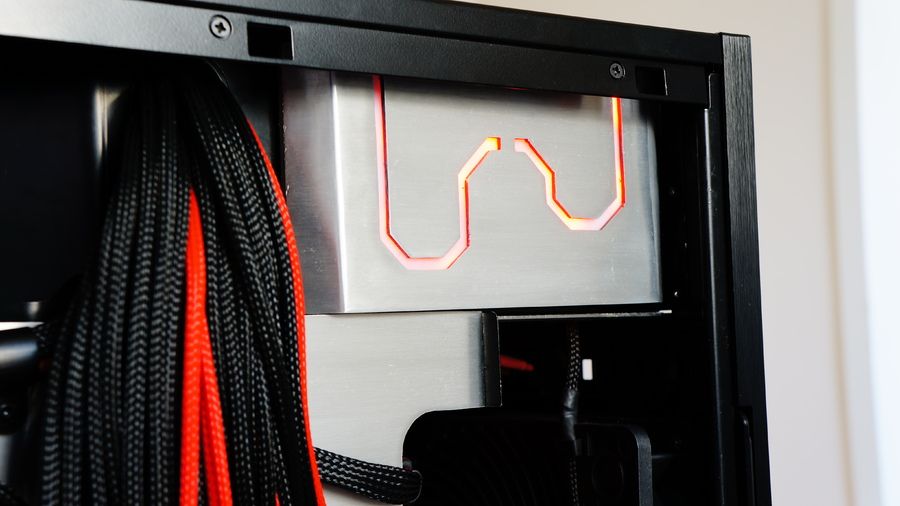
So I had to come up with something not just OK, but PERFECT! I wanted to do a mod that had not been done before, and have this mod cover the many bare spaces within the case. Suddenly, I found inspiration from the SupremeFX III sound chip design which can be found on my Asus Z77 Maximus V Gene motherboard. This is what the design looks like on the board:
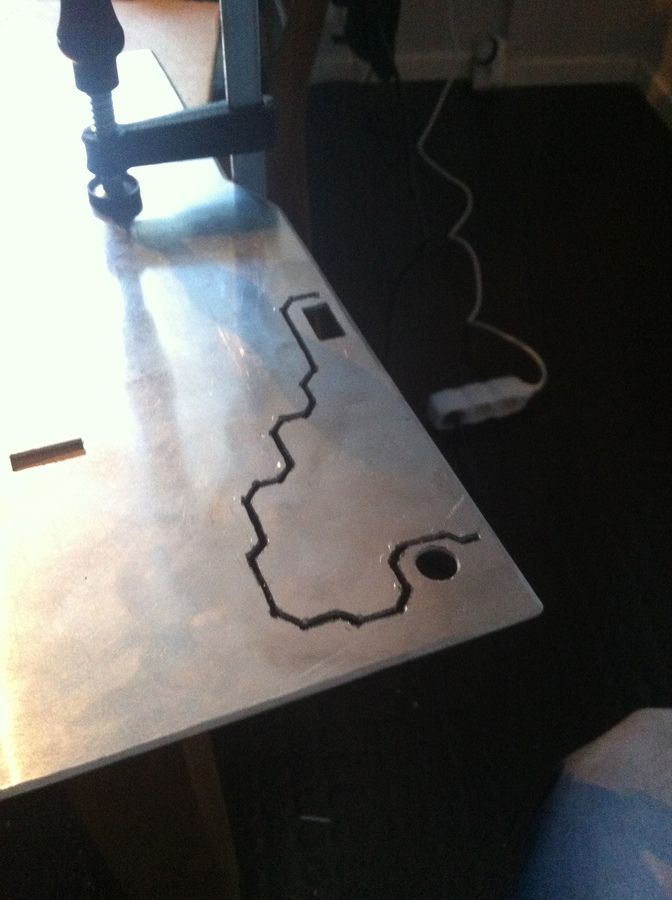
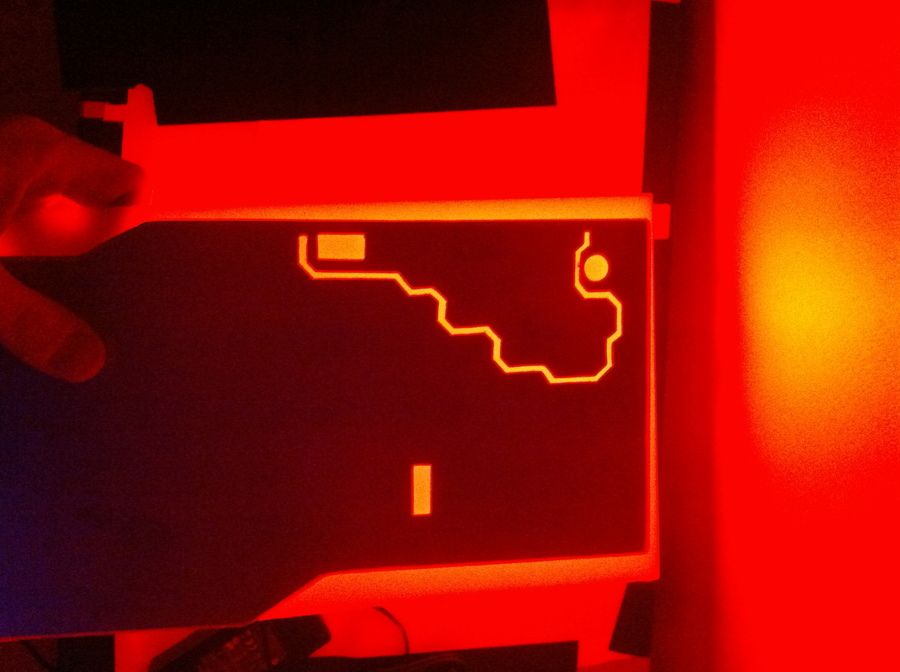
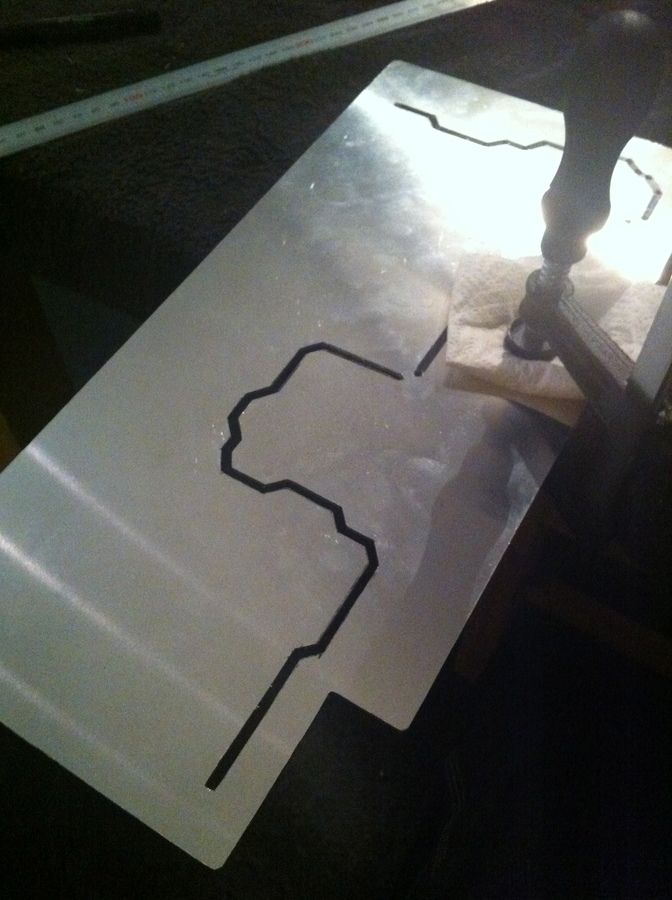
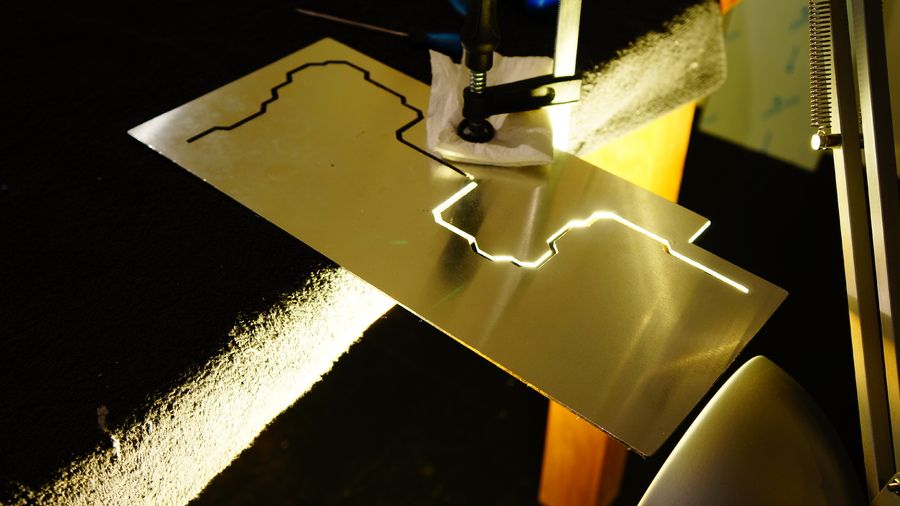
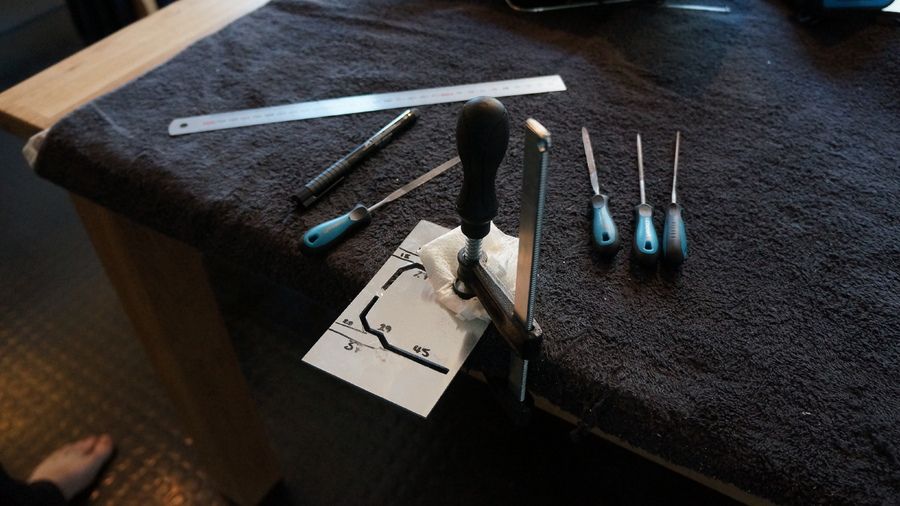
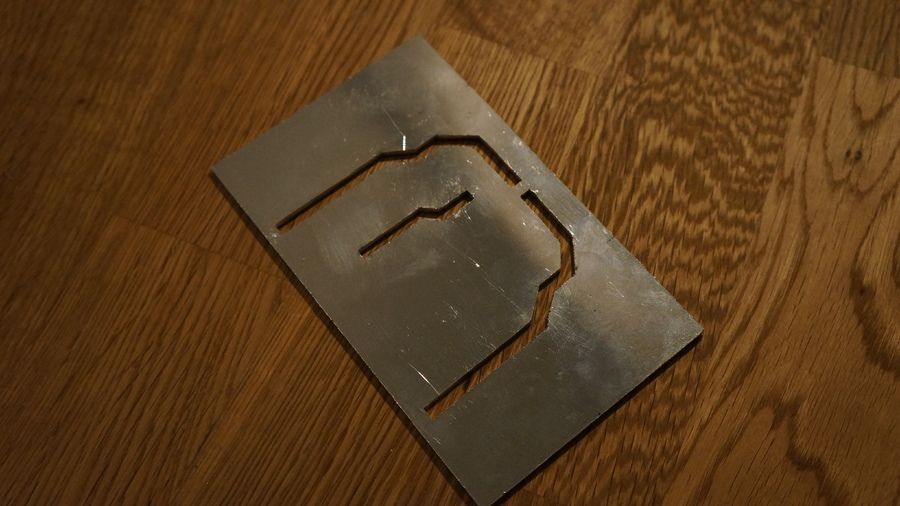
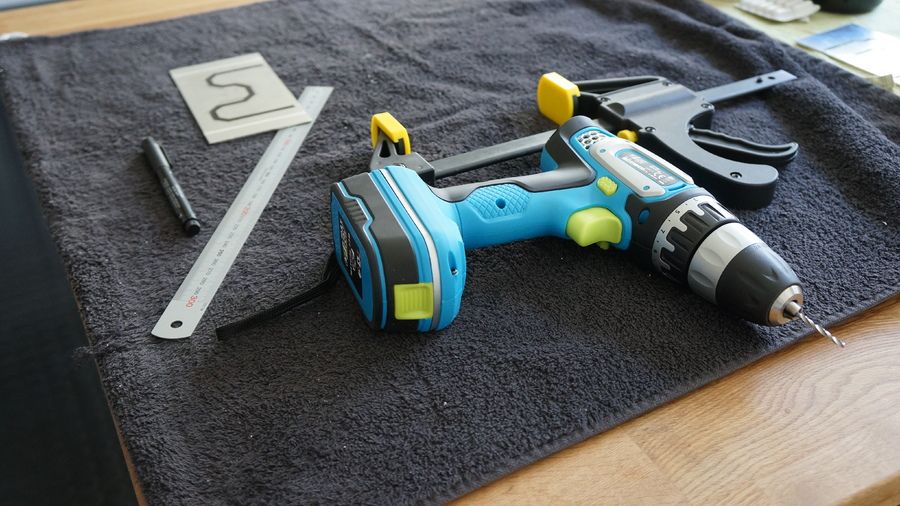
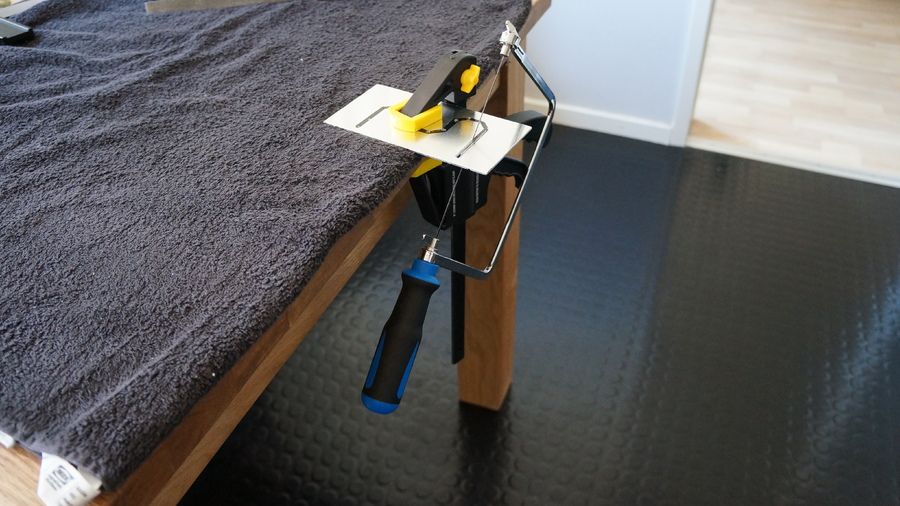
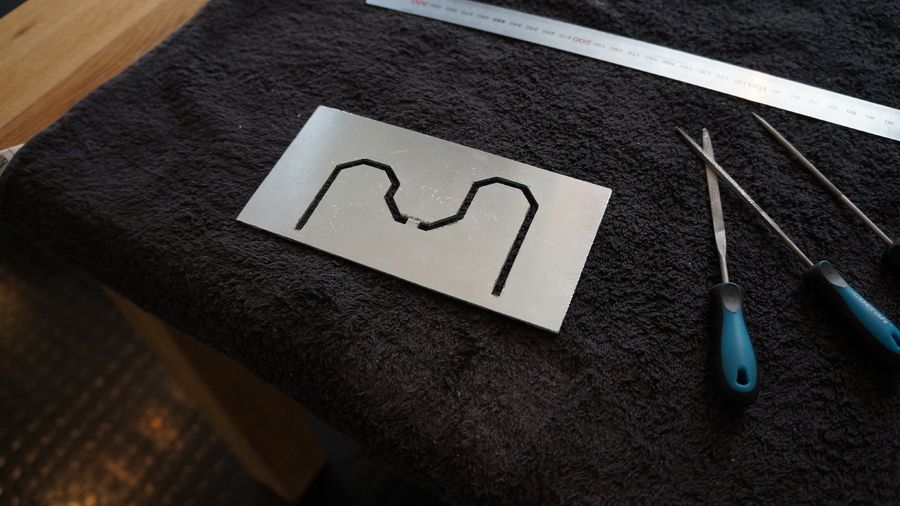
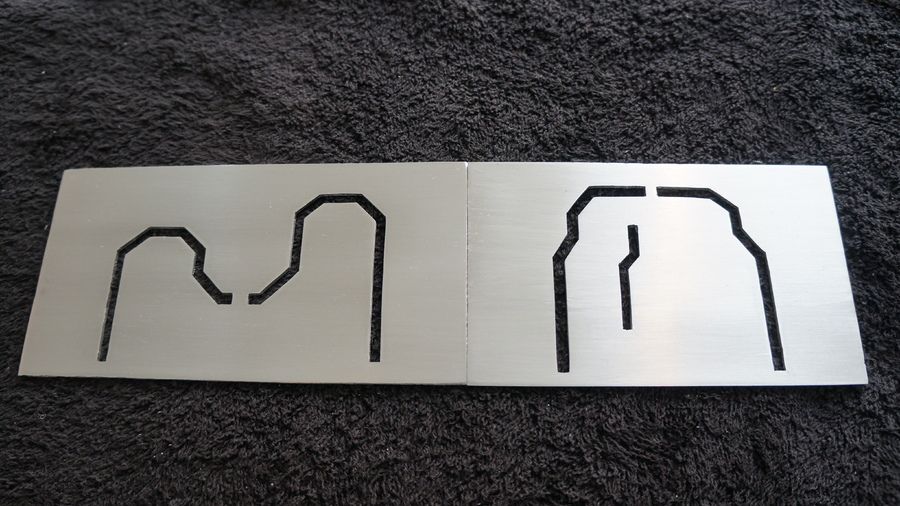
So, here is my journey to replicating my design on my own PC with the help of a few hand tools, elbow grease, and time. Enjoy these pics:

Let’s just say that the kitchen wasn’t looking so happy after all this work… Neither was the wife! 

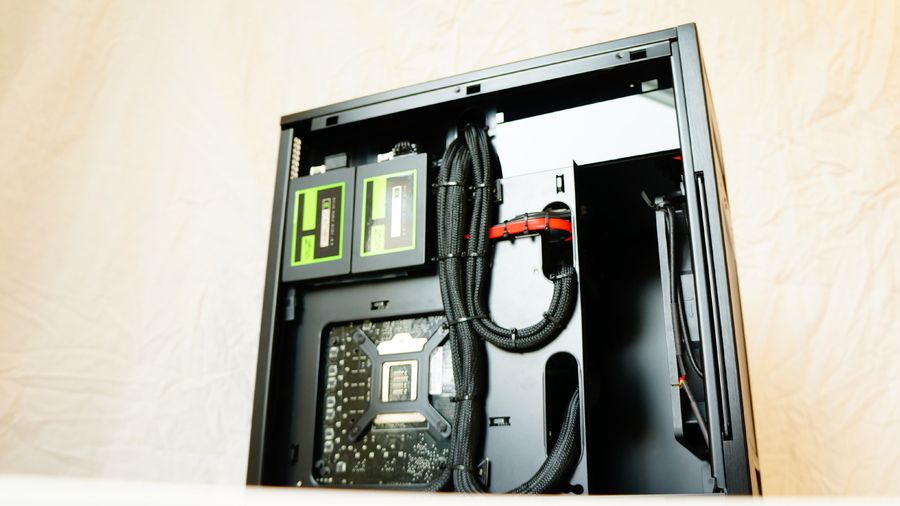
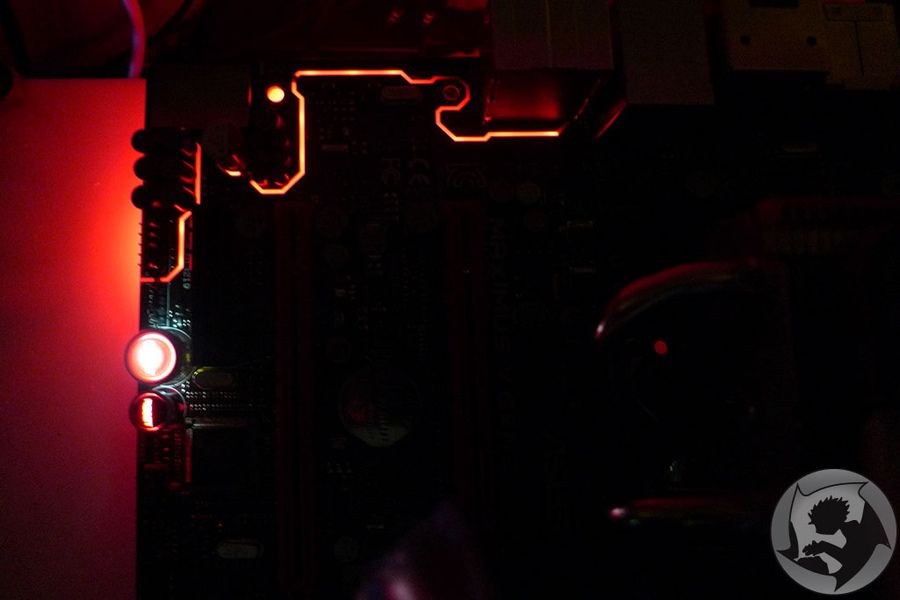
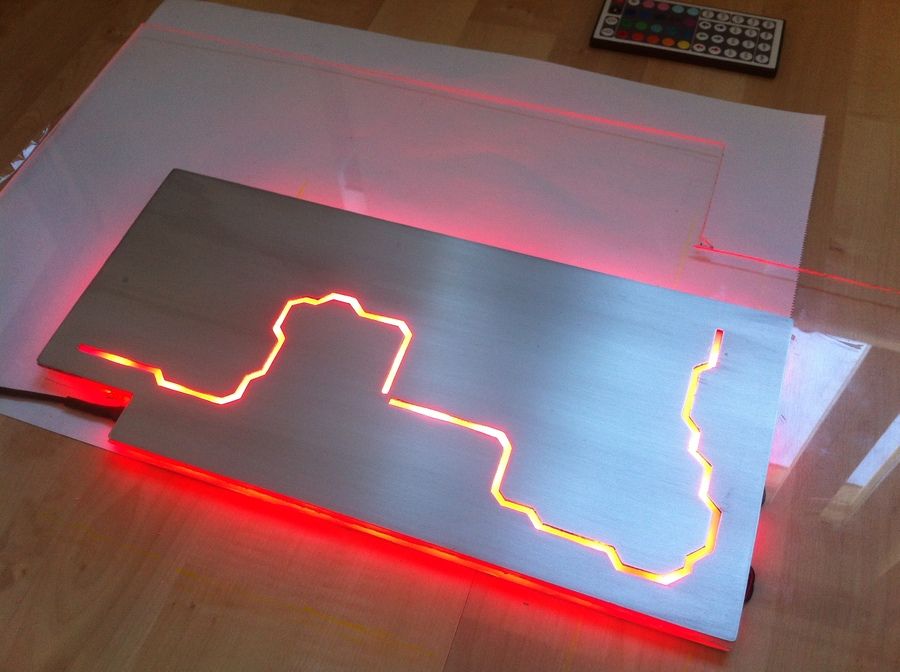
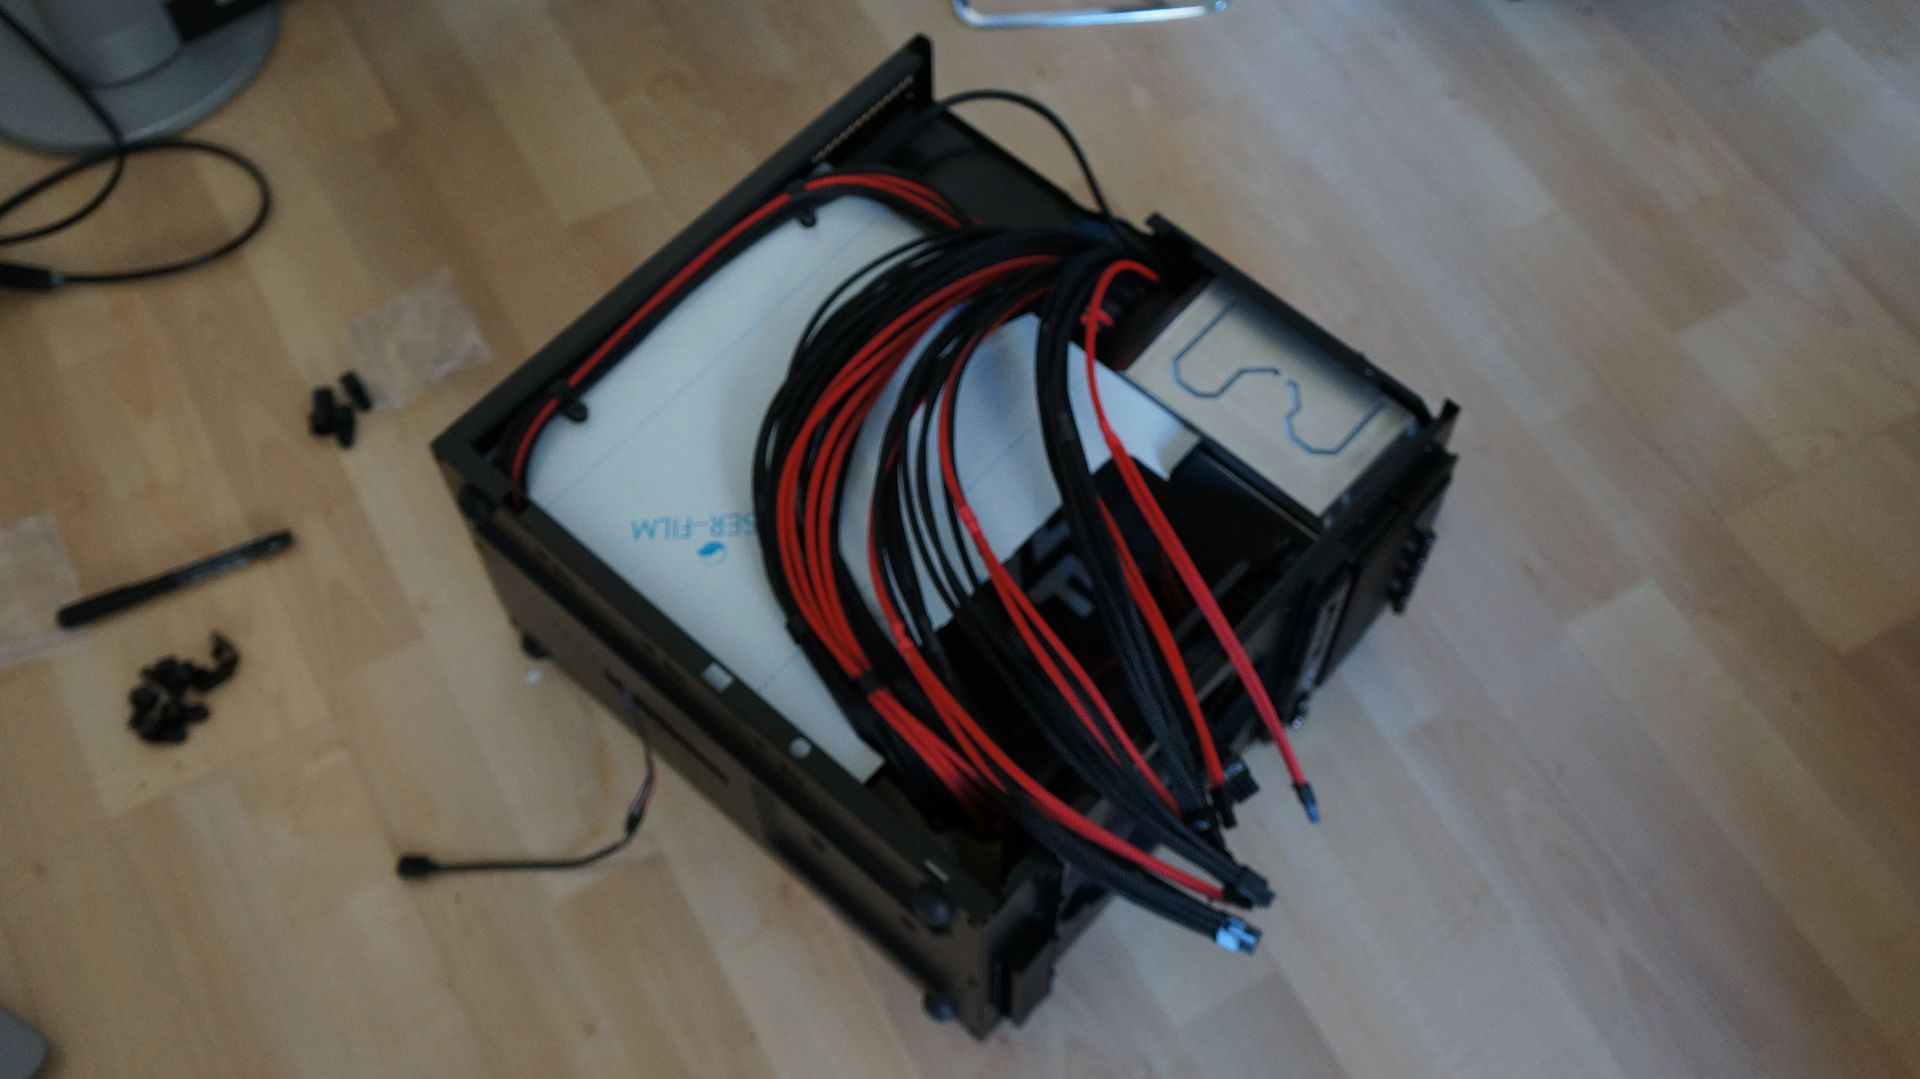
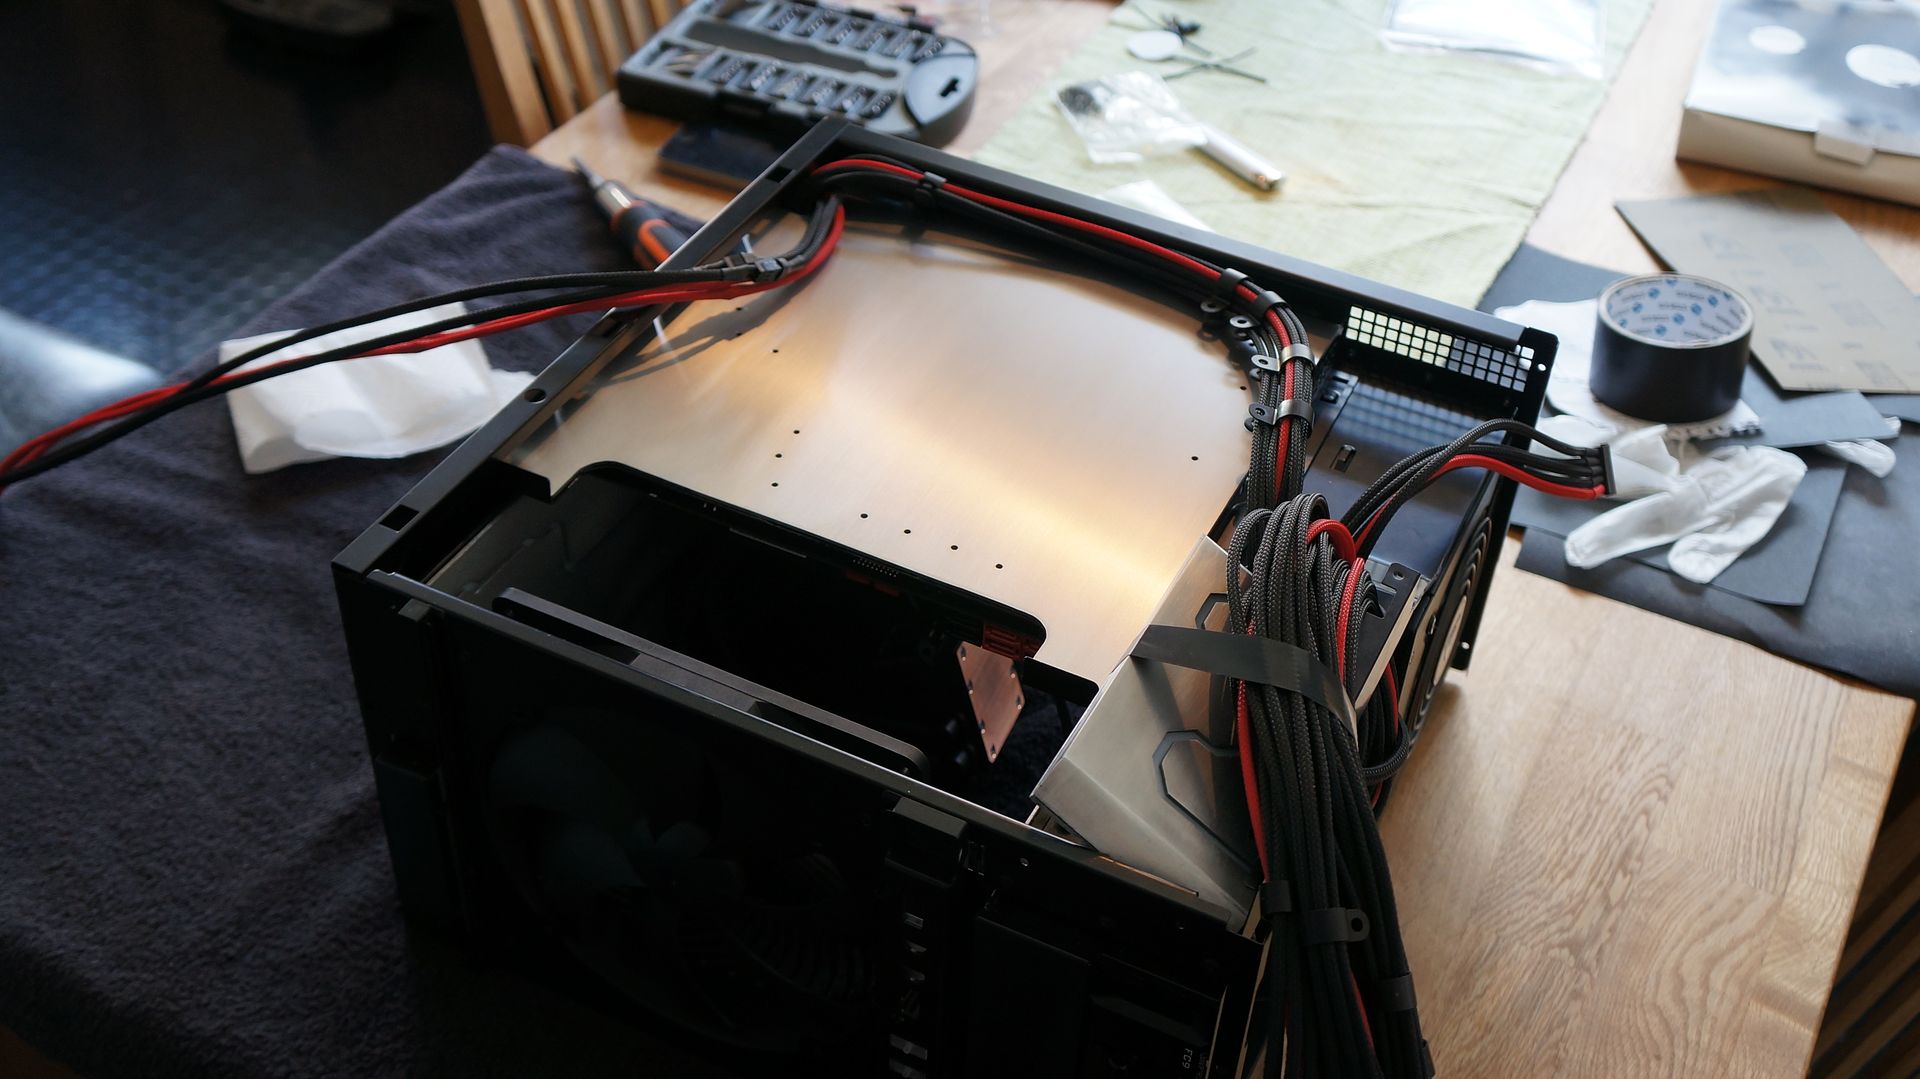
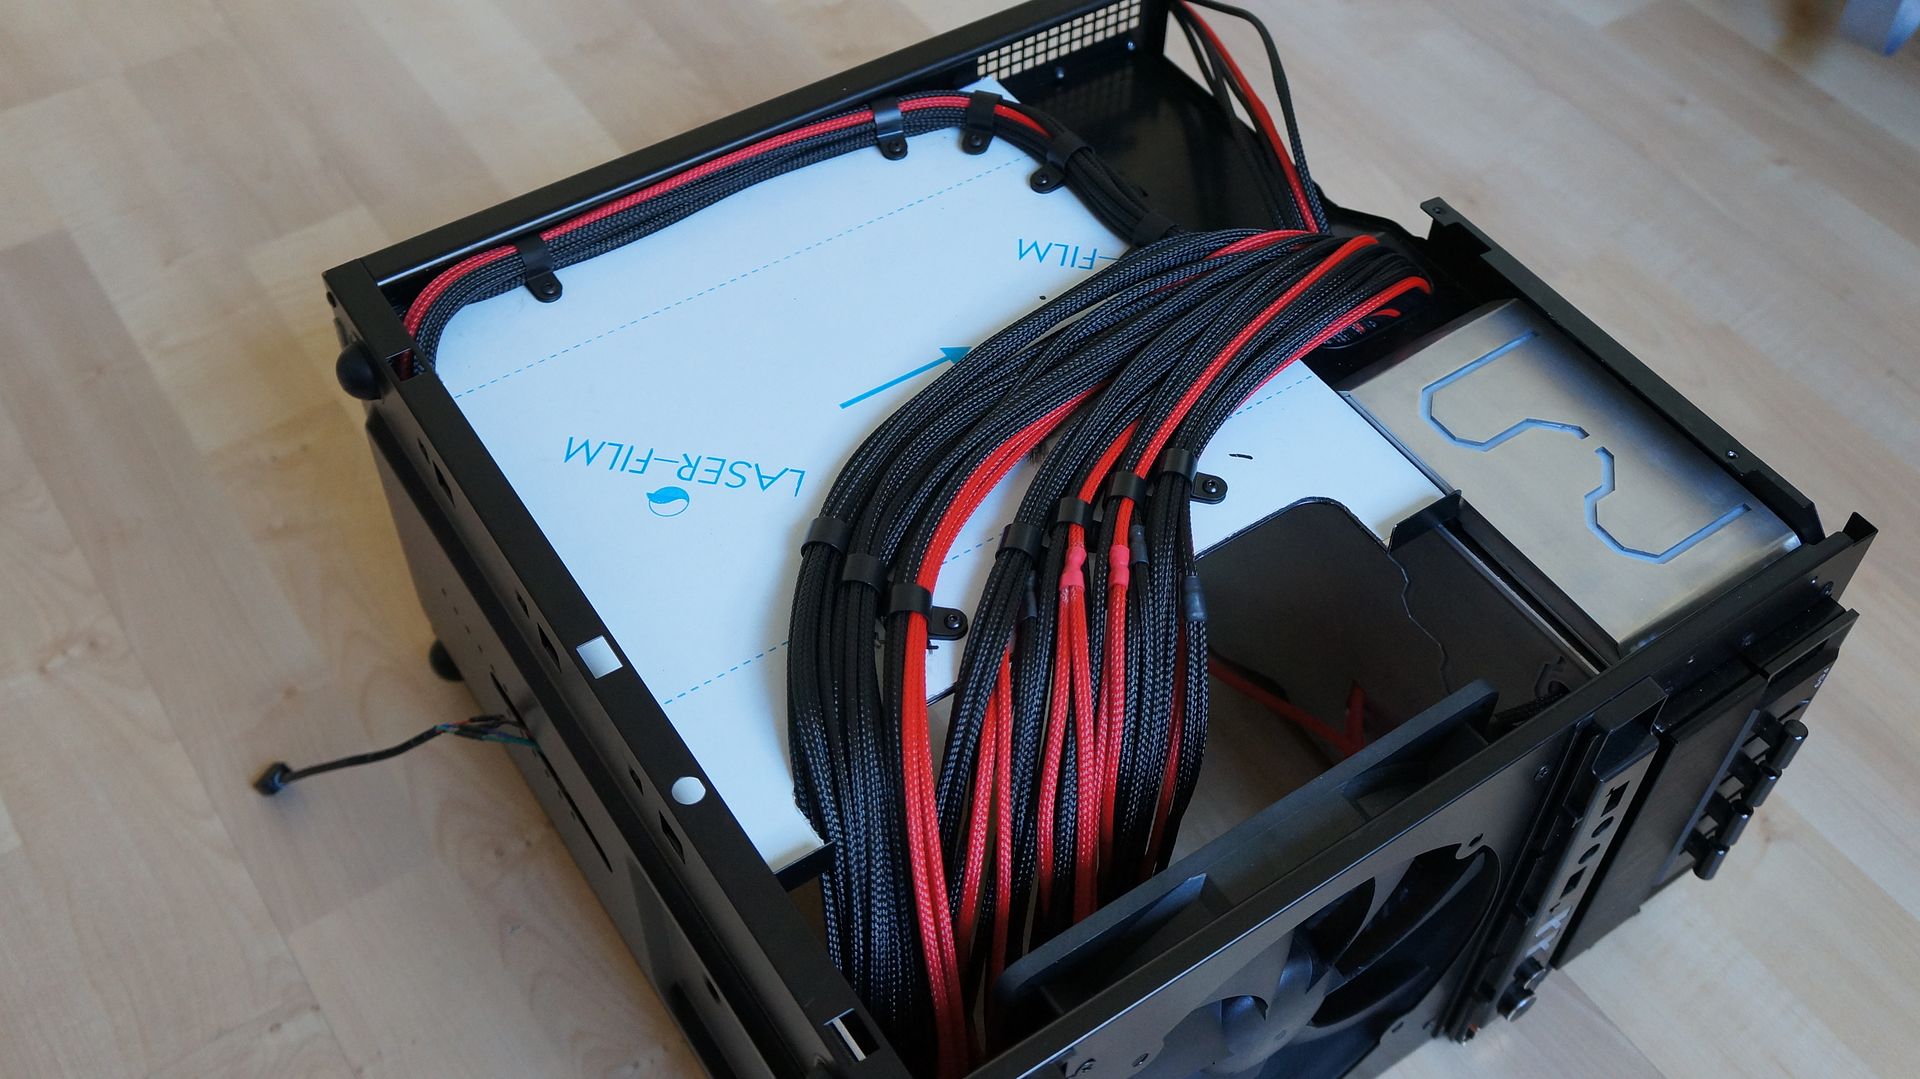
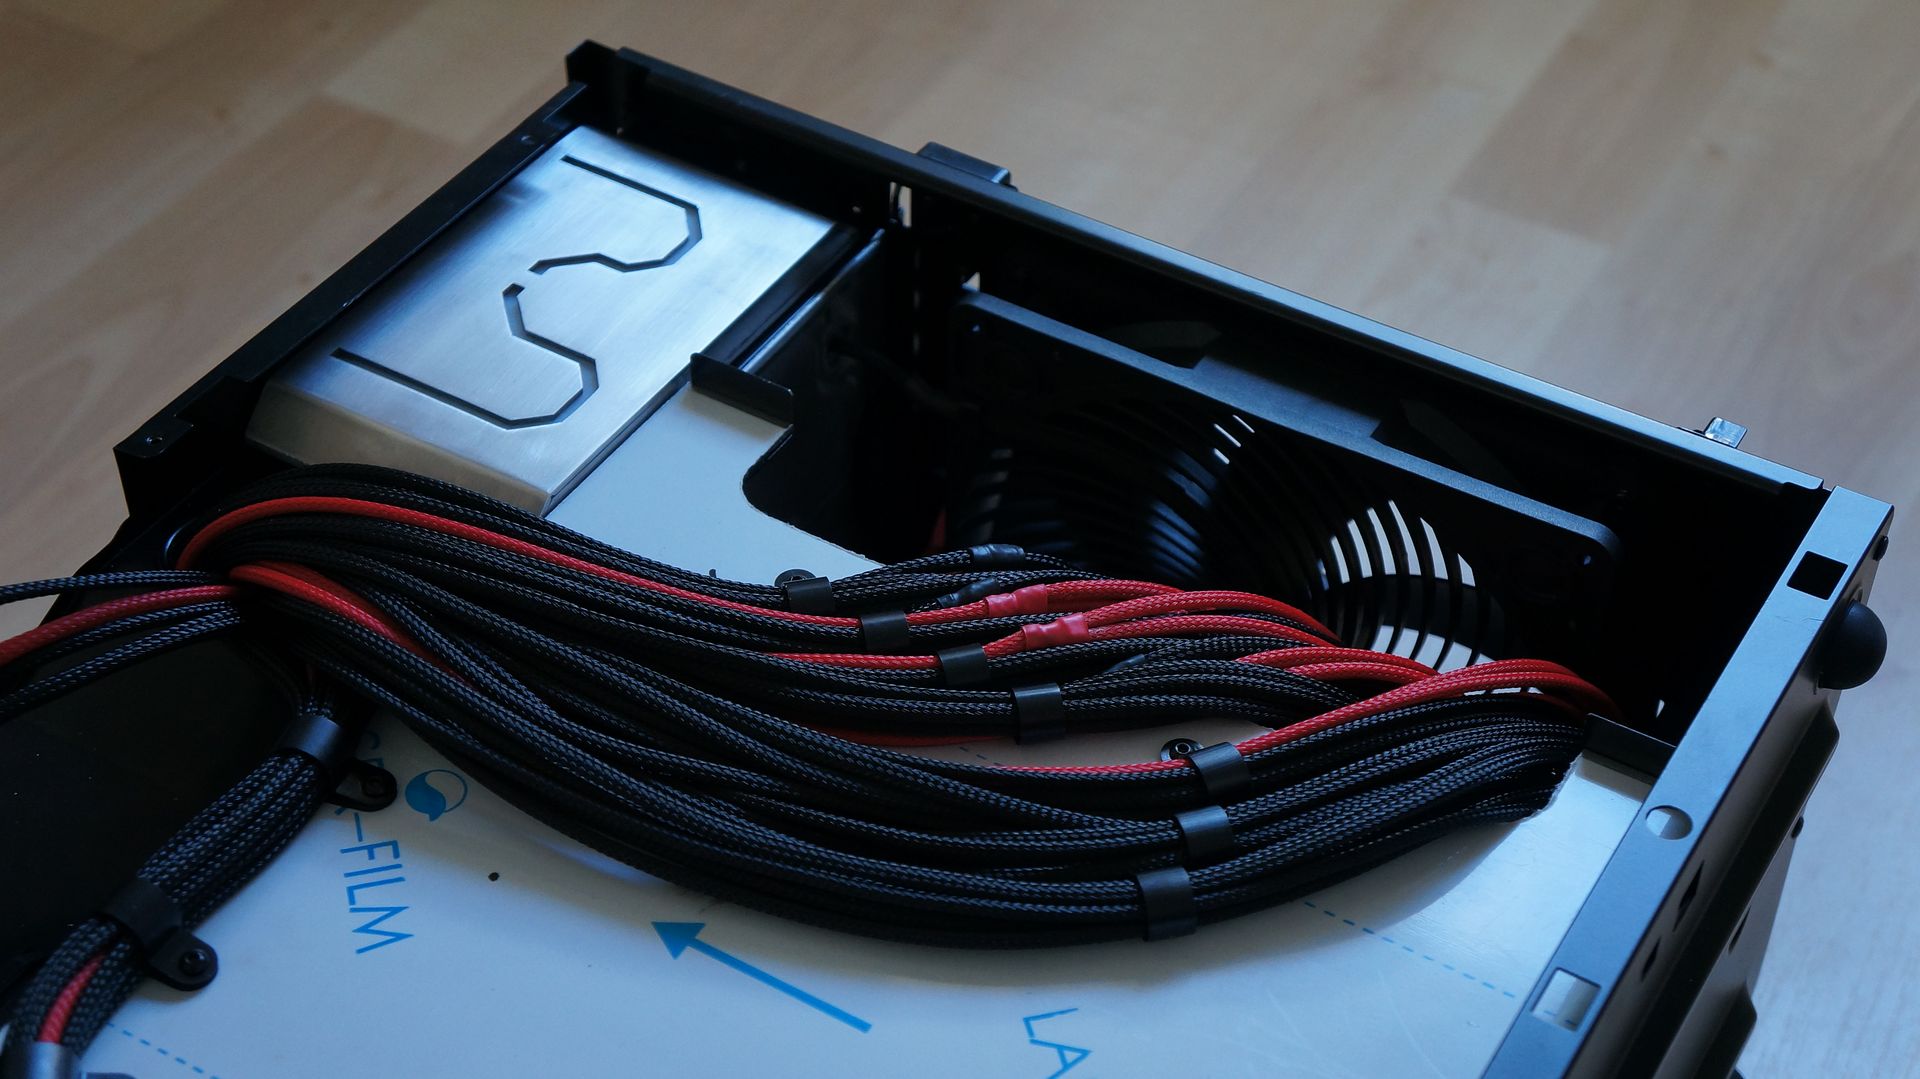
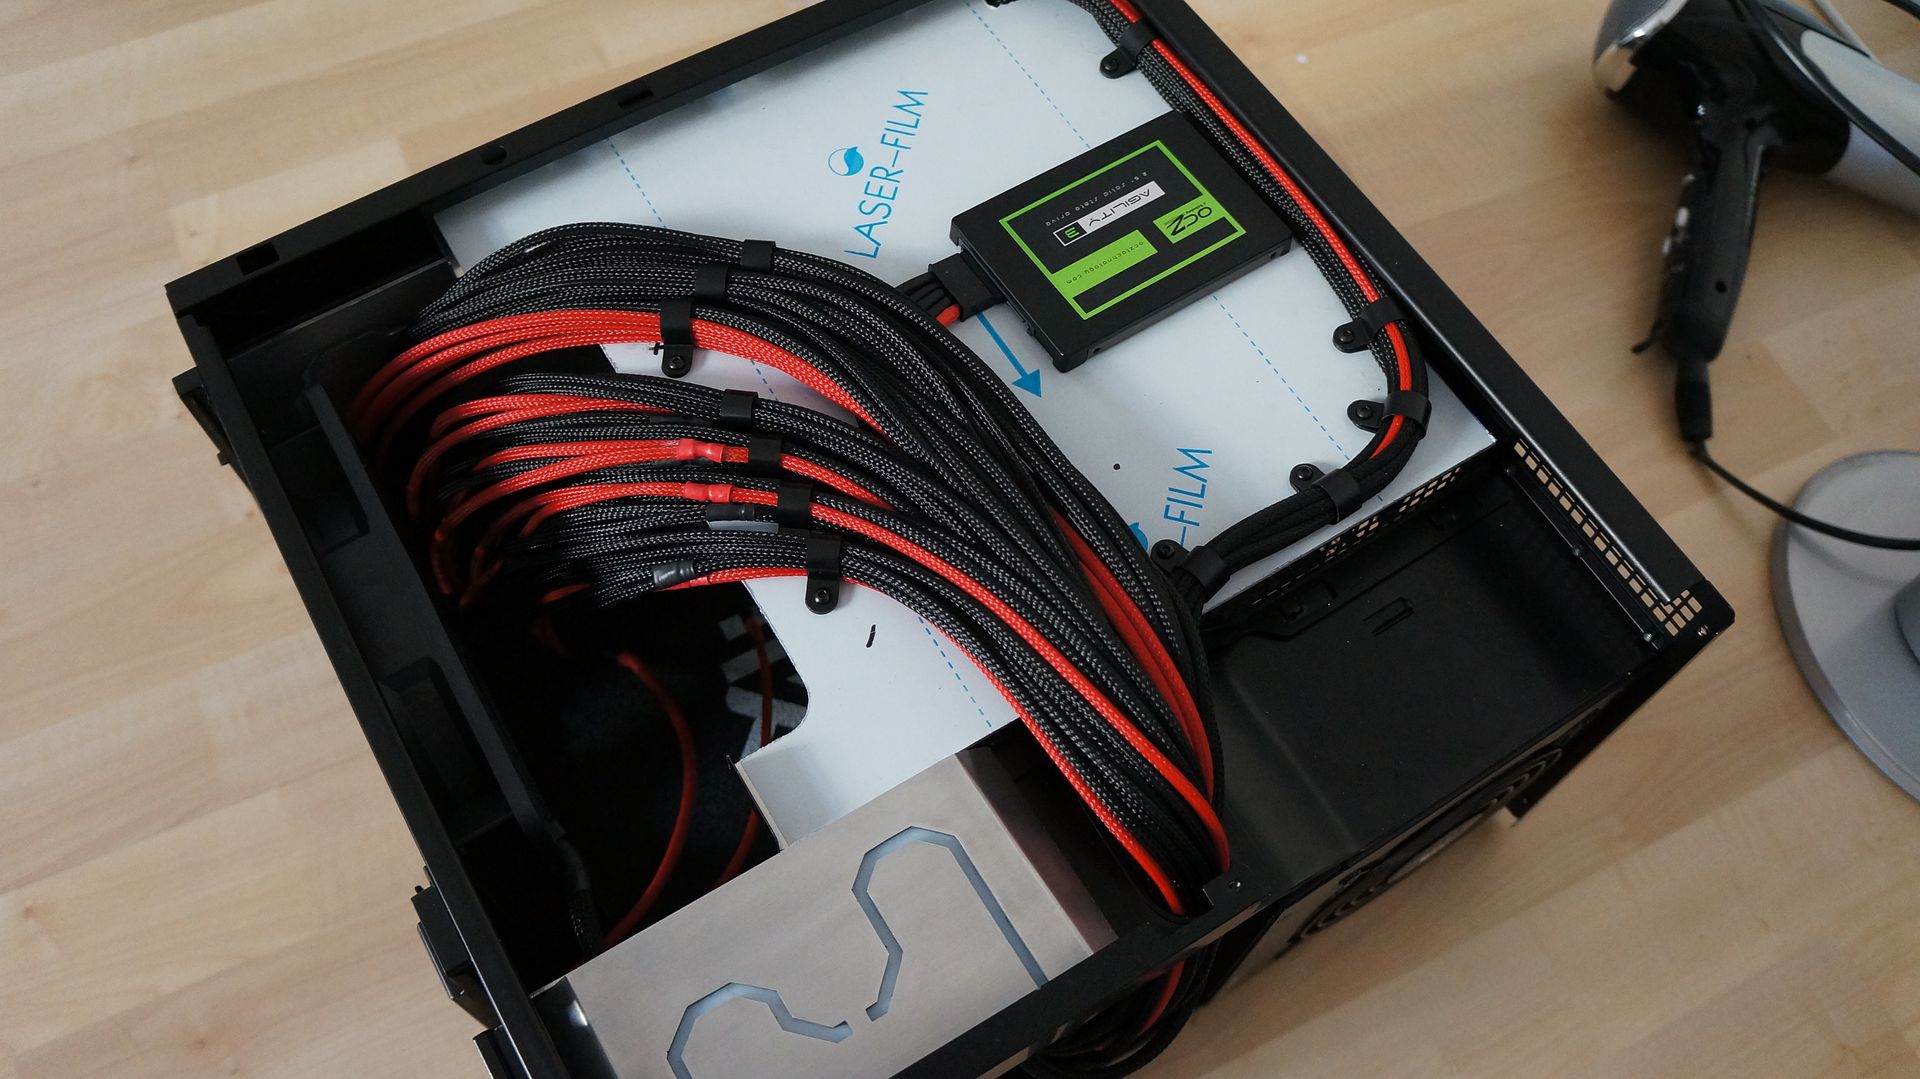
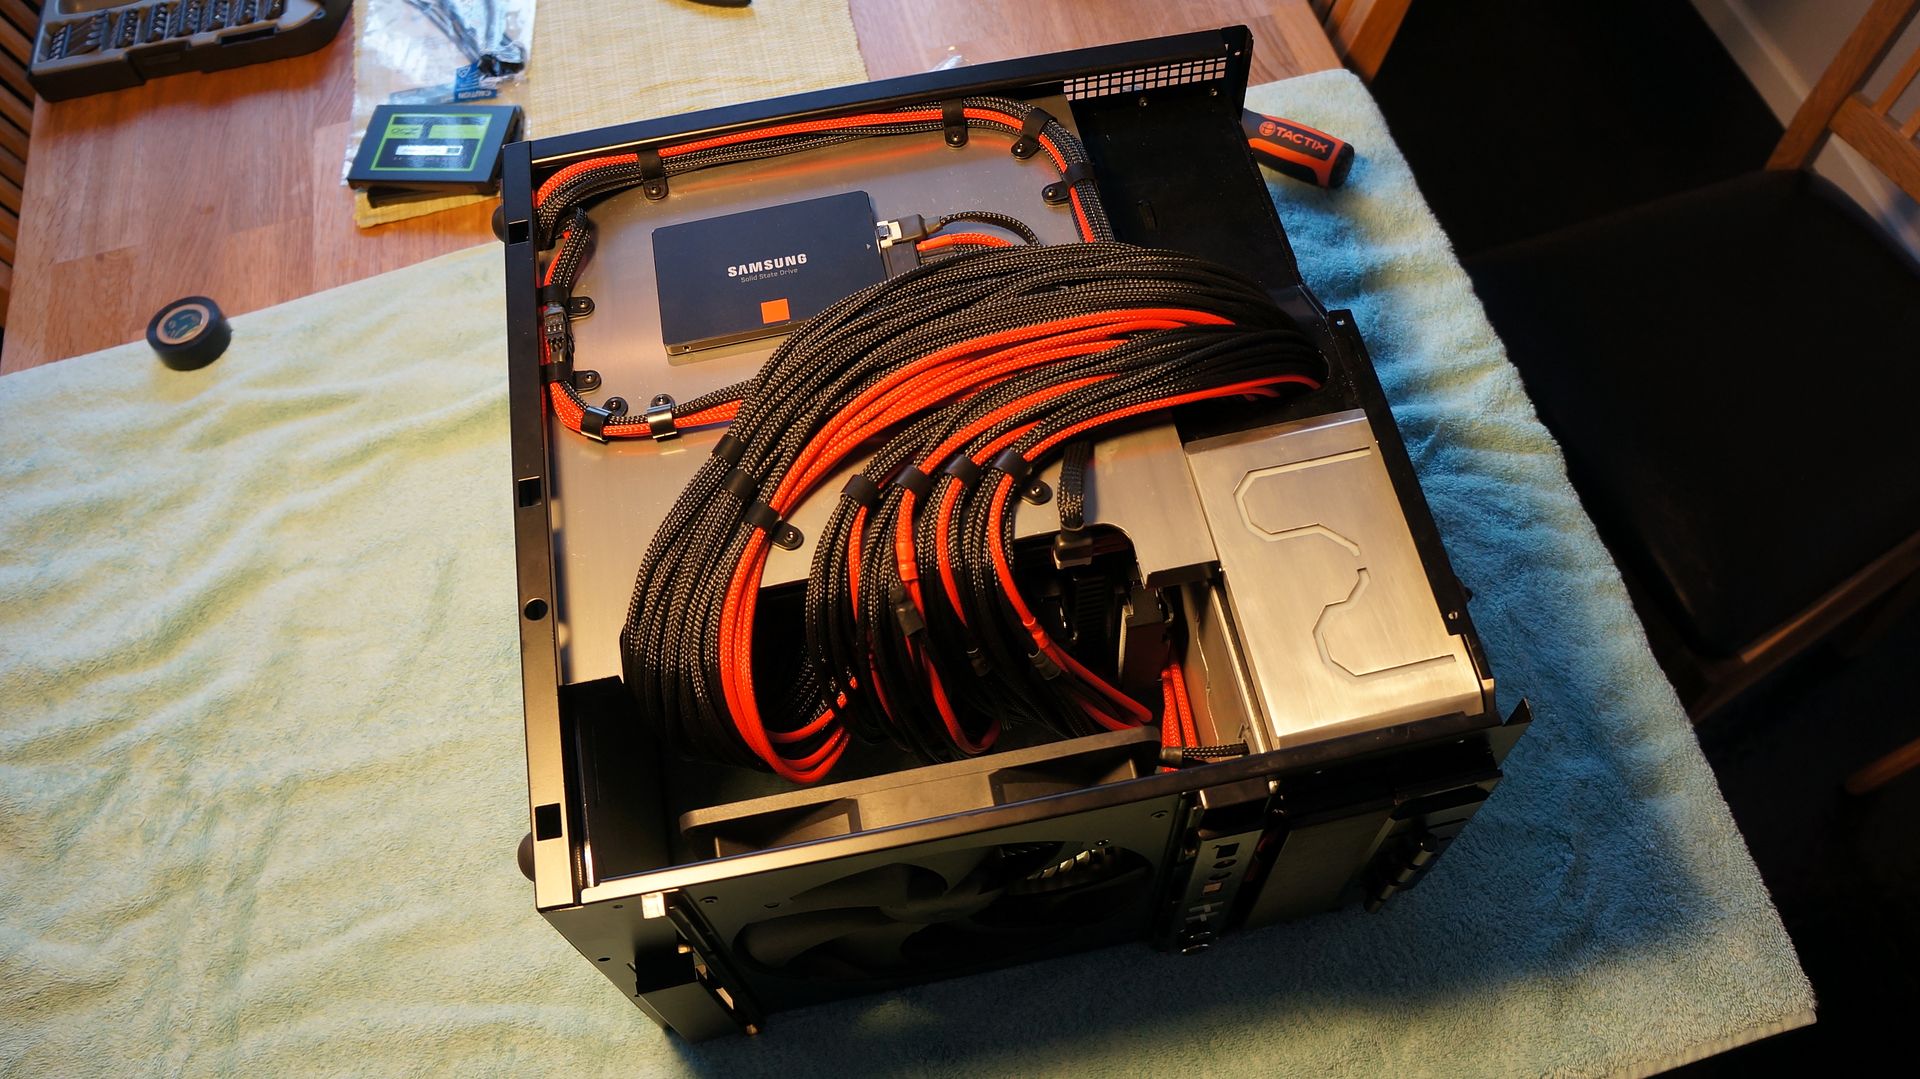
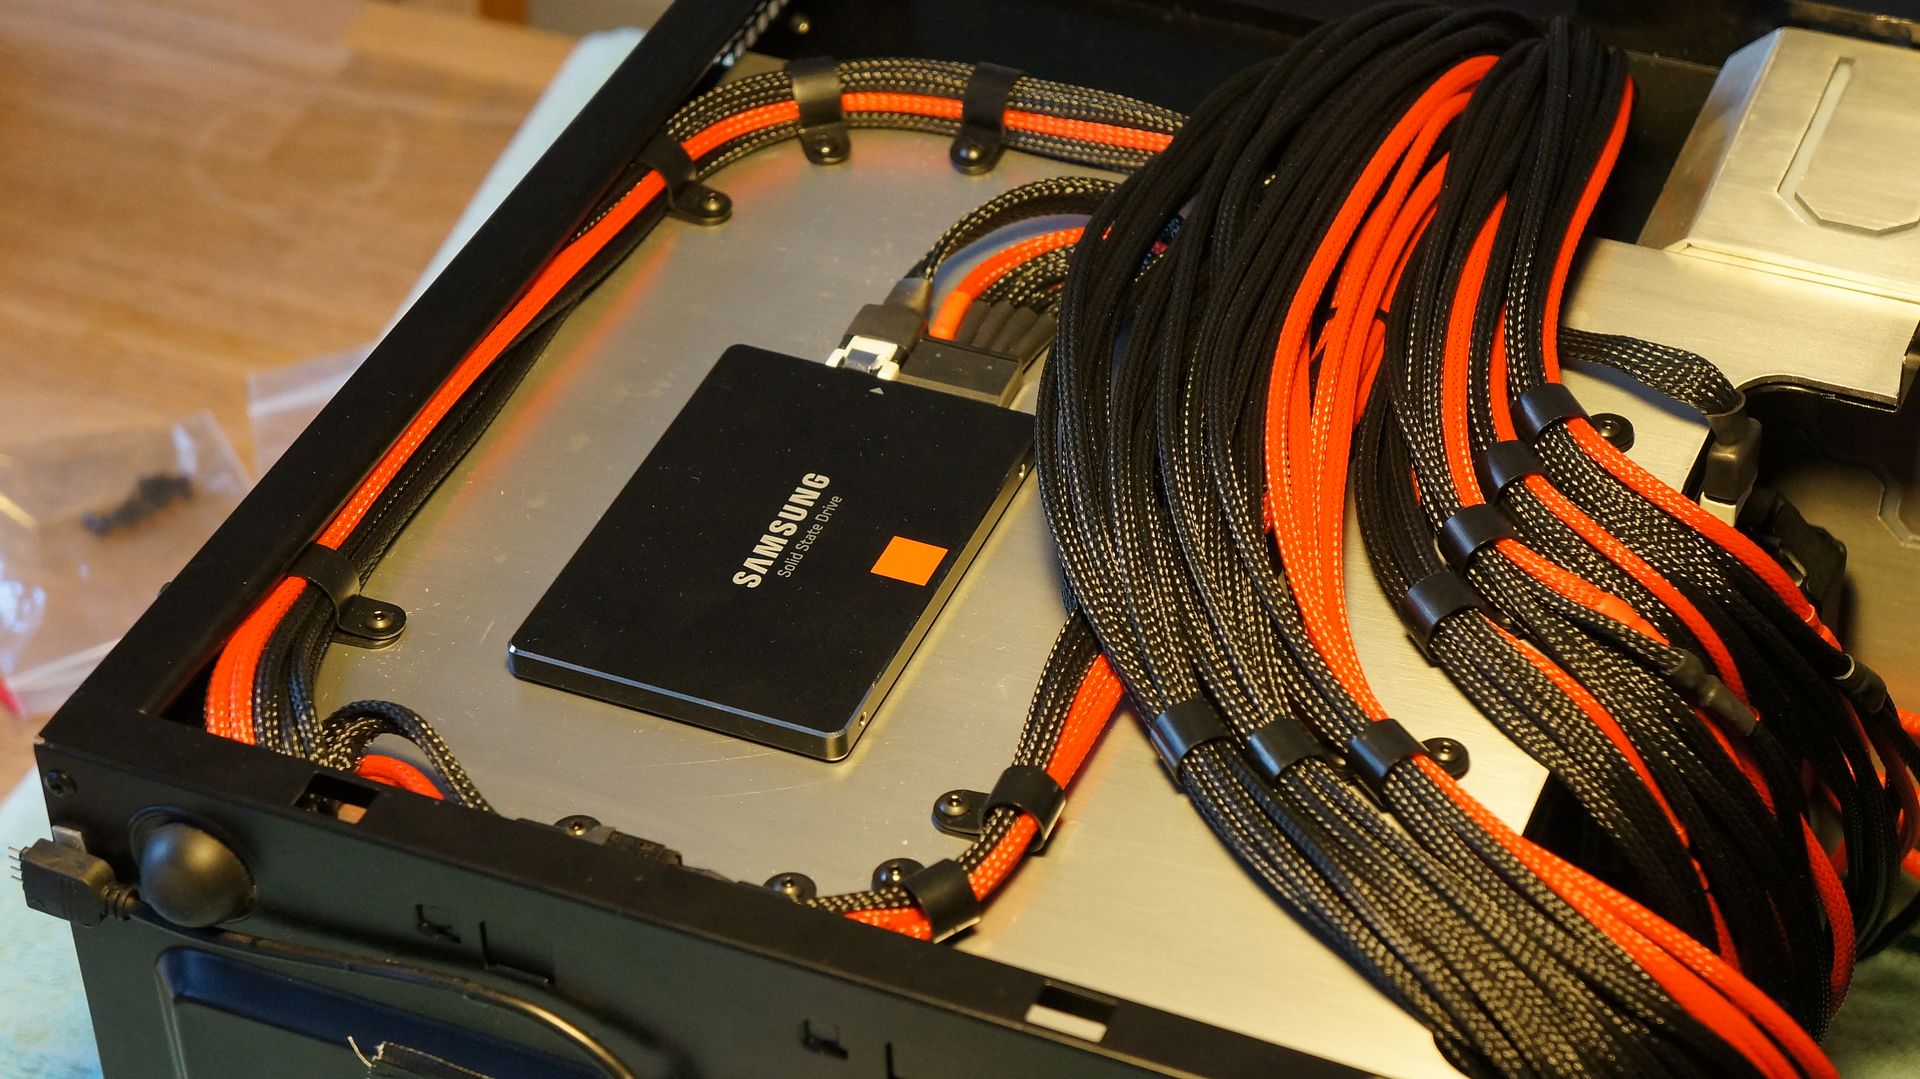
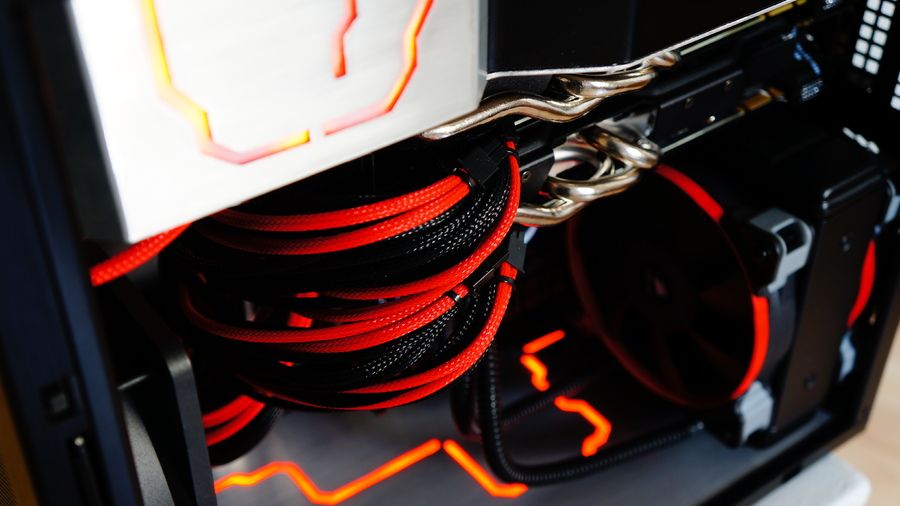
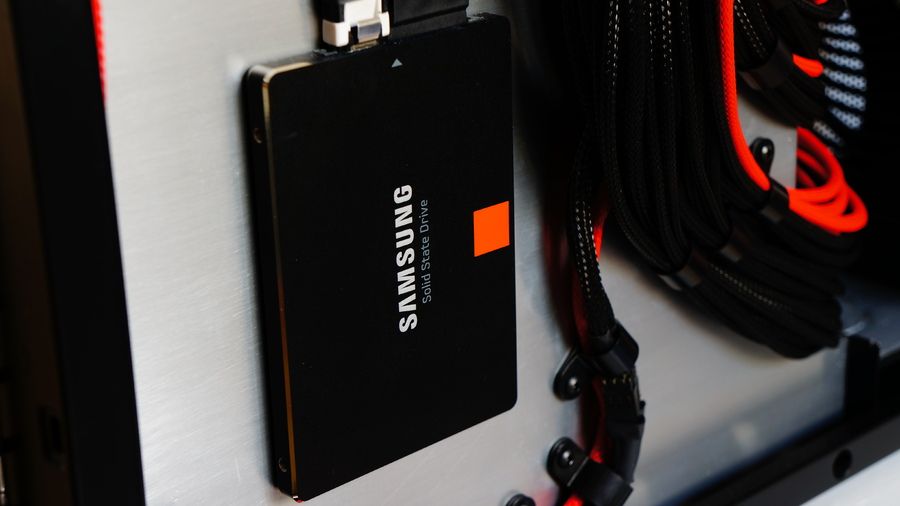
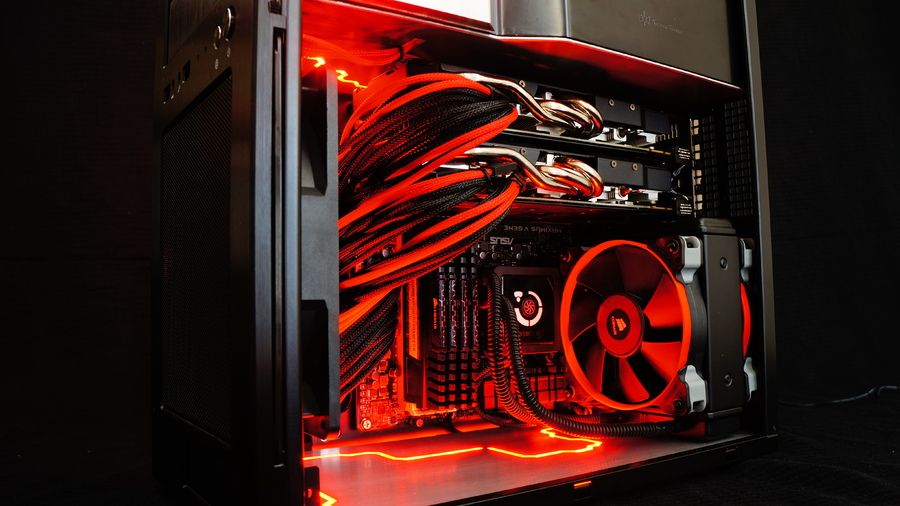
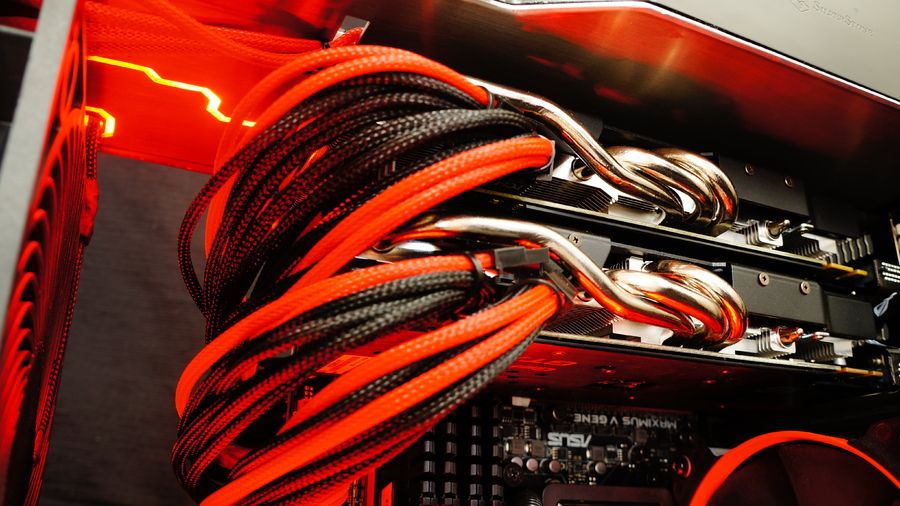
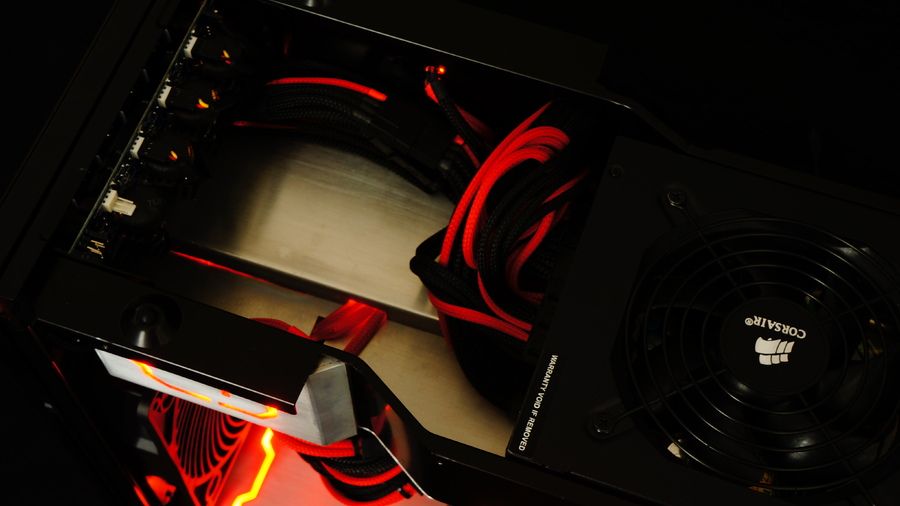
After a doing the light panels, I had the inspiration and motivation to do something special about the back of the PC. Something special with the cabling, SSD placement, and maybe use some aluminium to "spruse" it up a bit. It was nothing advanced, but in my opinion, it tied in with the general feeling that I washoping to acheive with the upgrade! This is what I had come up with:
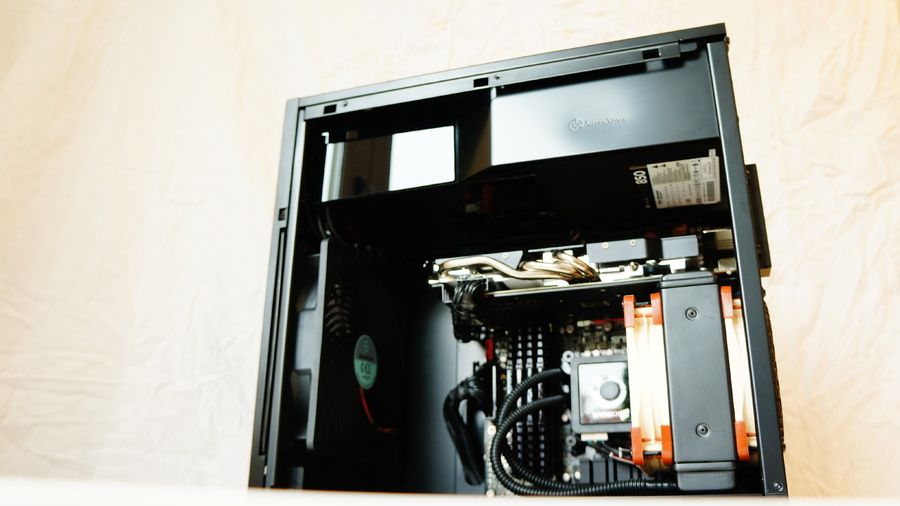
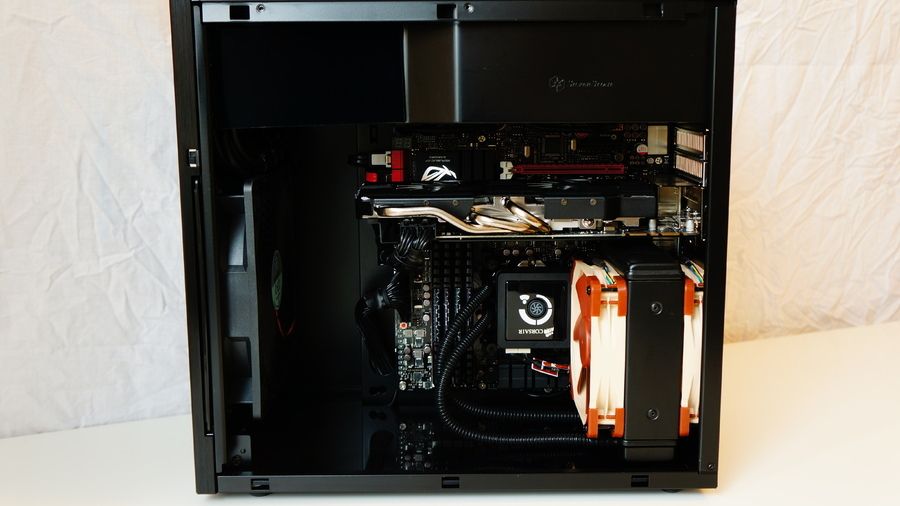
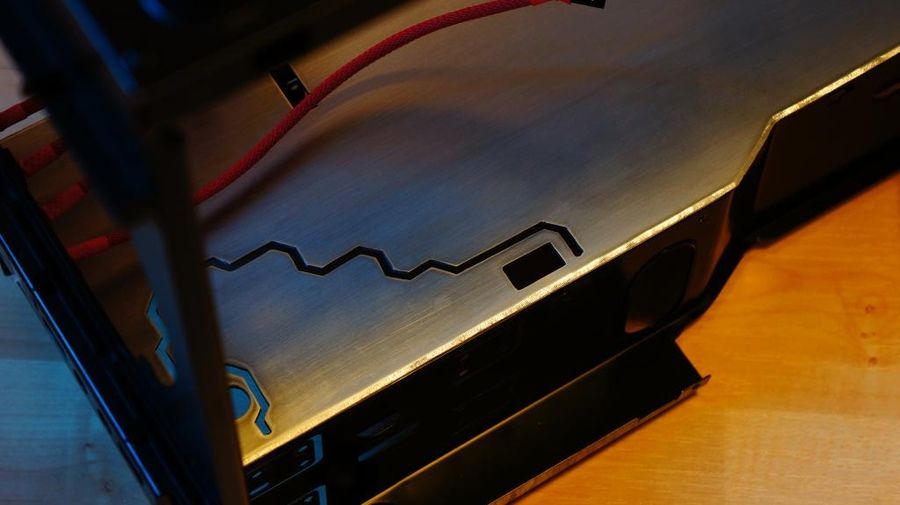
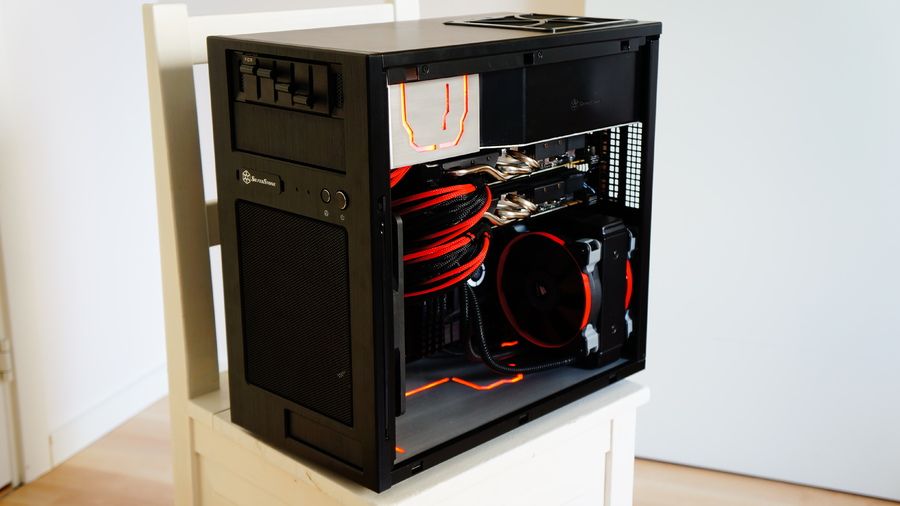
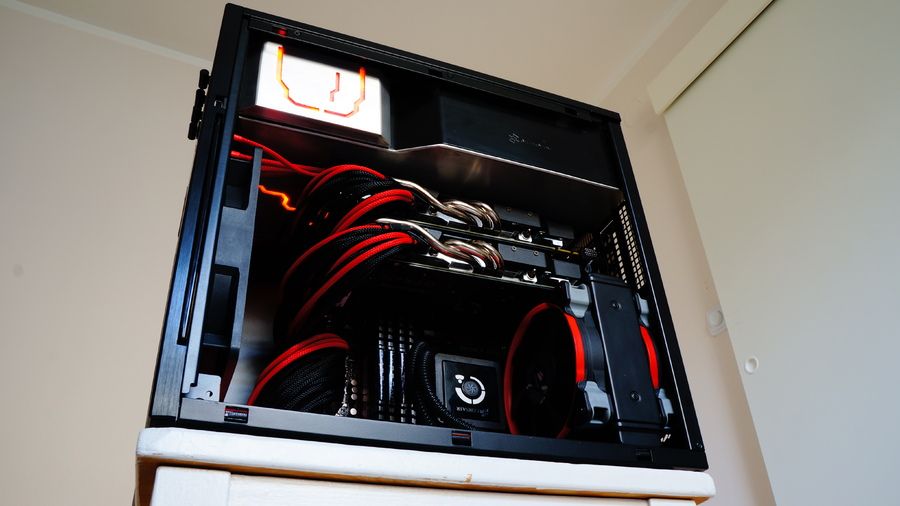
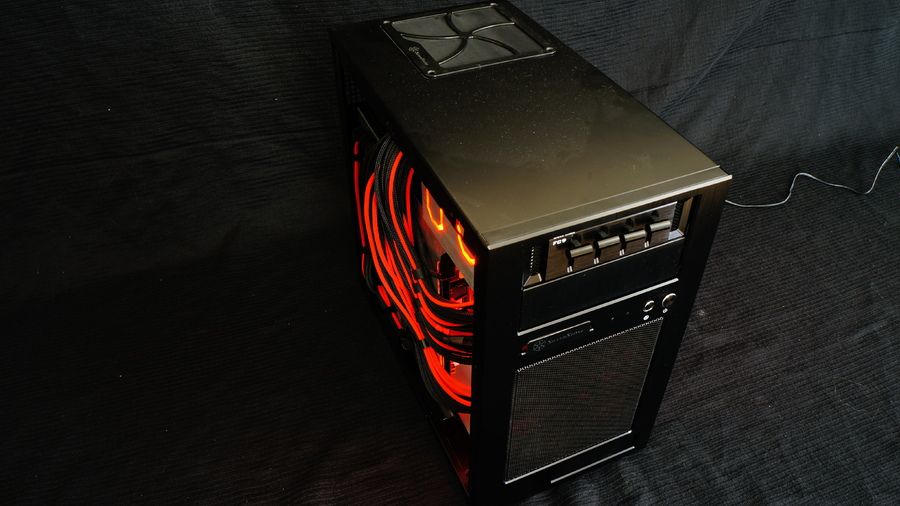
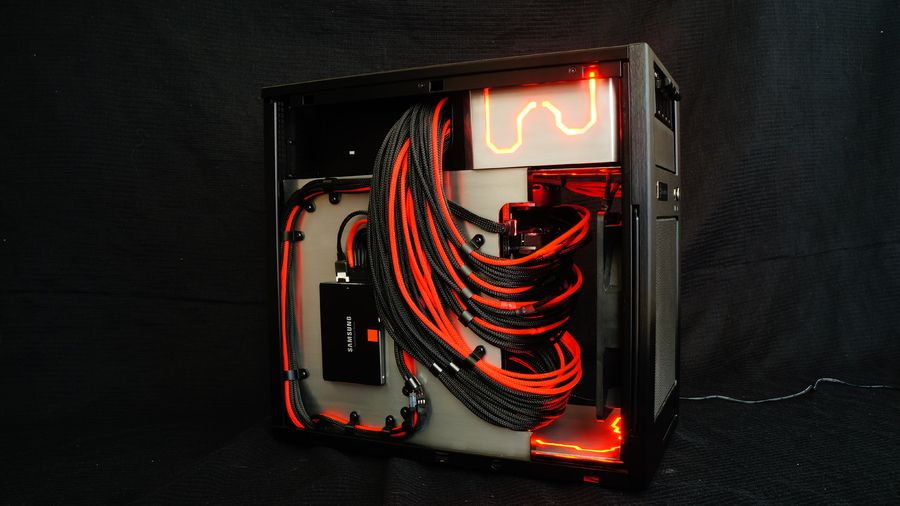
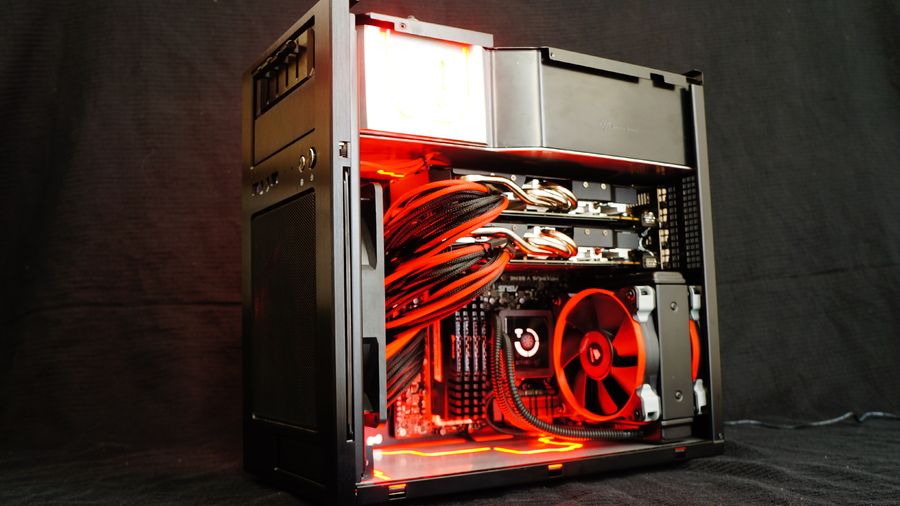
So, 5 months had gone by since I had started this rebuild. I had bought some more hardware, sold some hardware, filed and sanded like a "mofo", and in the end, I ended up with a computer that I was 100% happy with!!! This is what it looked like:
Once completed, in May 2013, fans who had followed the build nominated me for overclock.net's "Mod Of The Month", of which I was 1 of 4 contestants gunning for glory. After 8 days of voting, I had won the competition with 58% of a total of 310 votes.
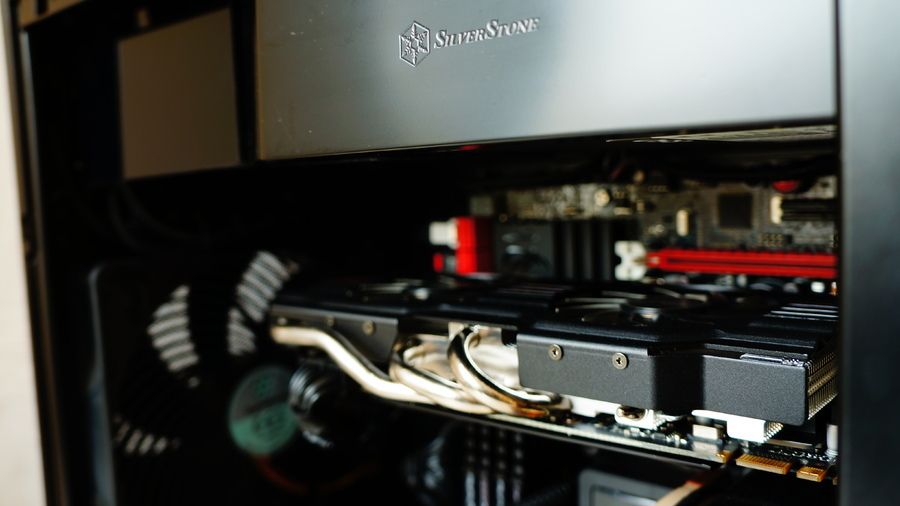
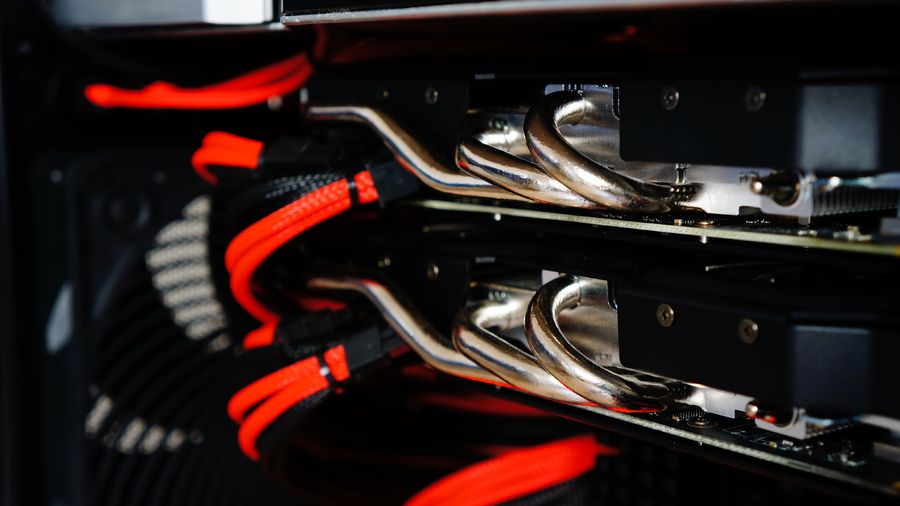
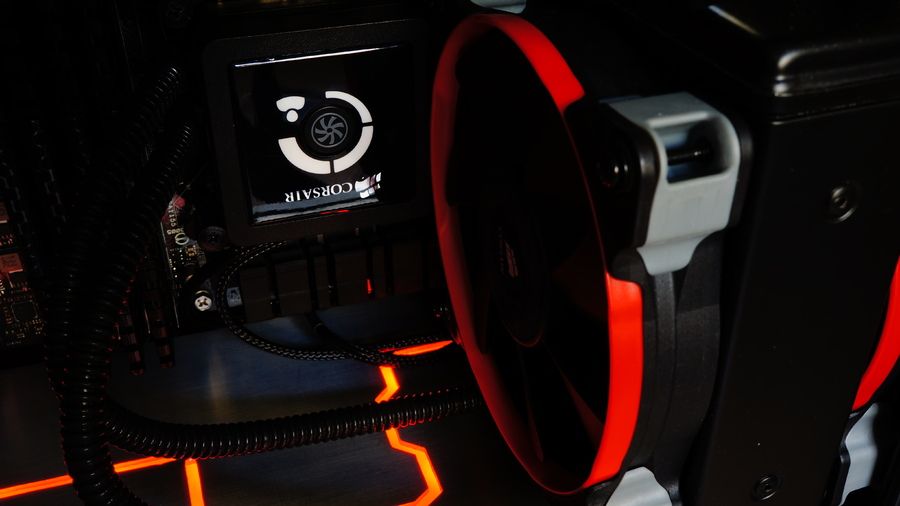
But the story doesn't end there... Sadly, after having the computer up and running for a week, I noticed that the SLI setup ran too hot because of the aluminium mid-plate sitting directly above the top GPU, and my Corsair H80 CPU AIO (All In One) solution's pump died. This forced me to send it back as RMA to where I had bought it from. After 3 weeks of having a dead computer, I was told that the H80 would not be replaced, but that I would get a refund. More stress! BUT, After some thinking, and planning, and determination, I decided to take it to the NEXT LEVEL (again?) and WATER COOL!!! And this is where this build log begins...
I would like to announce Aquatuning as a sponsor for some of the required fittings and other bits and pieces. Without the help of Andreas, I don't think that I would have had the money to see my dream become reality. Thank you!