Part 1: The Parts
- CPU: Intel Core i5-4670K 3.4GHz Quad-Core Processor (Purchased for £150.47)
- CPU Cooler: Corsair H100i 77.0 CFM Liquid CPU Cooler (Purchased For £80.22)
- Motherboard: Asus Z87-PRO ATX LGA1150 Motherboard (Purchased For £134.82)
- Memory: Patriot Intel Extreme Master, Limited Ed 8GB (2 x 4GB) DDR3-1866 Memory (Purchased For £41.45)
- Storage: Samsung 840 EVO 120GB 2.5" Solid State Disk (Purchased For £61.14)
- Storage: Western Digital Caviar Black 1TB 3.5" 7200RPM Internal Hard Drive (Purchased For £64.45)
- Video Card: Gigabyte Radeon R9 280X 3GB Video Card with Battlefield 4 (Purchased For £264.98)
- Case: Fractal Design Define XL R2 (Black Pearl) ATX Full Tower Case (Purchased For £100.90)
- Power Supply: XFX ProSeries 850W 80 PLUS Gold Certified ATX12V / EPS12V Power Supply (Purchased For £124.33)
- Optical Drive: Samsung SH-224BB/RSBS DVD/CD Writer (Purchased For £14.95)
- Operating System: Microsoft Windows 8.1 - OEM (64-bit) (Purchased For £73.98)
- Monitor: LG 23EA63V-P 23.0" Monitor (Purchased For £119.98)
Total: £1231.67 ($2,009.69 USD)
Part 2: The Build
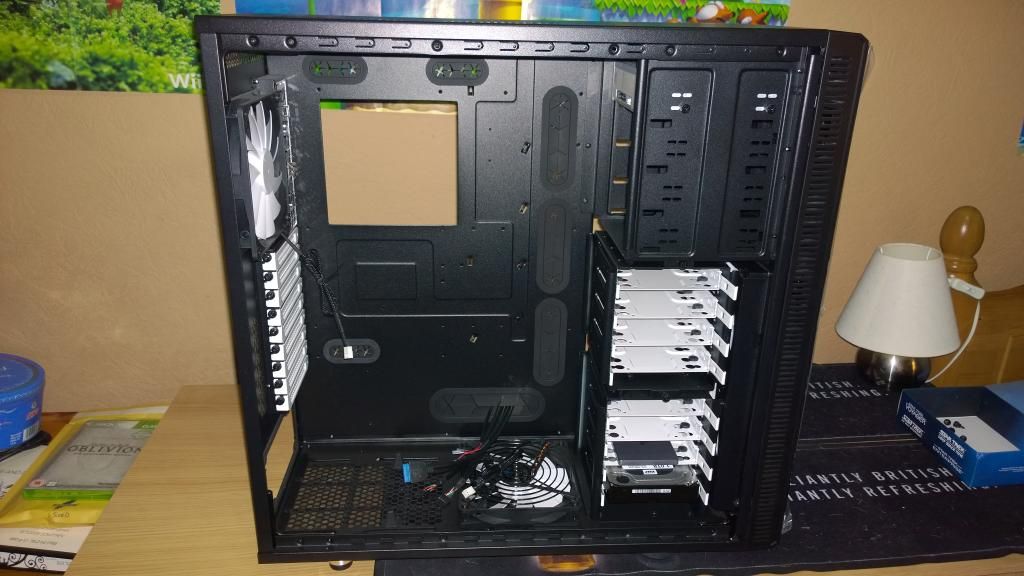
The case has been opened up ready for the parts to be put in. The HDD and SDD are already installed and are screwed into place. The case is a Fractal Design Fefine R2 XL with a 1TB Western Digital Black HDD and 120GB Samsung EVO SSD.
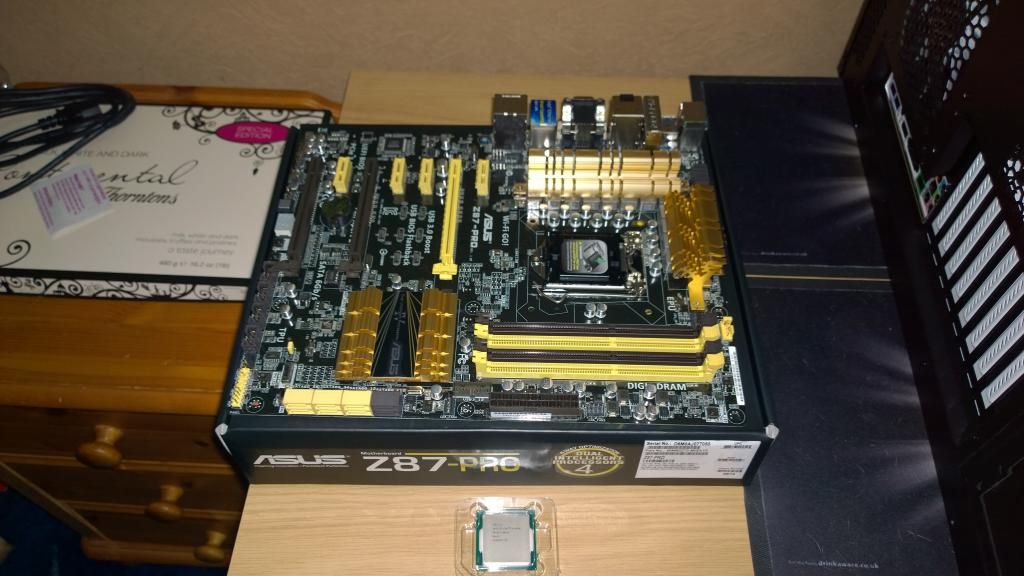
Time to get the motherboard out and install the CPU. The motherboard is a Asus Z87-Pro and the CPU is an intel 4670K @ 3.4Ghz (Plan to overclock later).
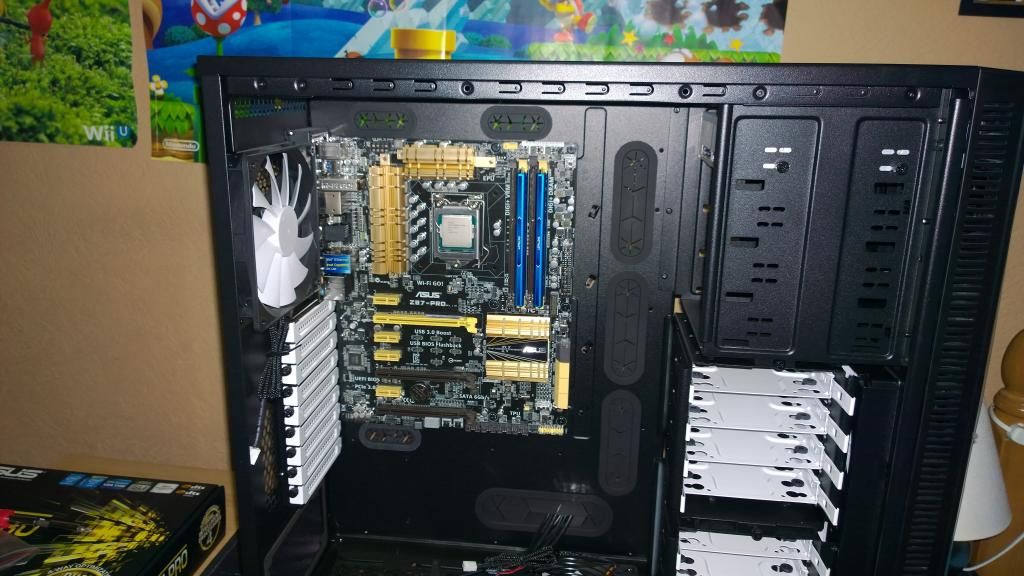
The Motherboard is mostly set up with the RAM installed, Fro this i'm using Patriot 2x4GB Ram @ 1866Mhz (Although its currently running at a default 1600Mhz, will fix later).

Time to screw in the stand-offs and make sure everything is lined up correctly. This took a little while but I got it in place in the end. The motherboard is now installed.
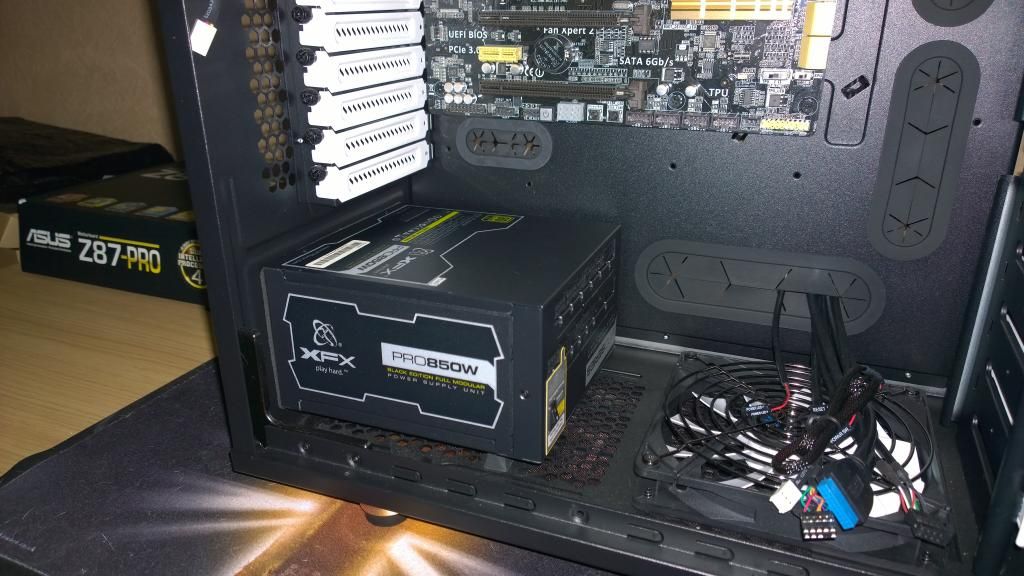
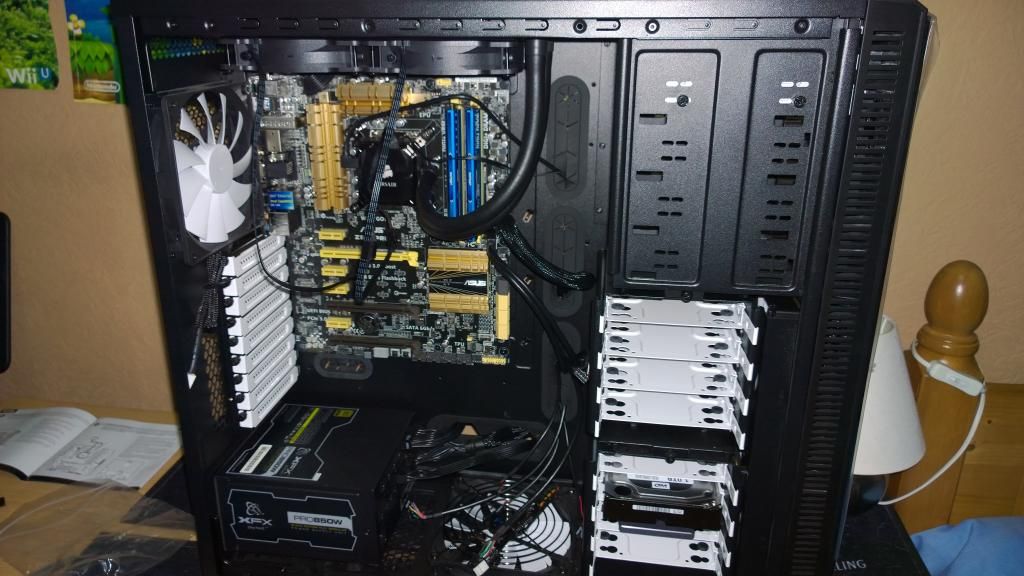
Next step was to install the power supply which is an XFX Pro Series Black Edition 850W. Overkill for the build but has great support for up to THREE graphics cards. Once installed I connected the CPU and 24 Pin power connector to the motherboard now since space will get very tight at the top once the H100i is installed. I positioned the PSU fan to face down as an intake.
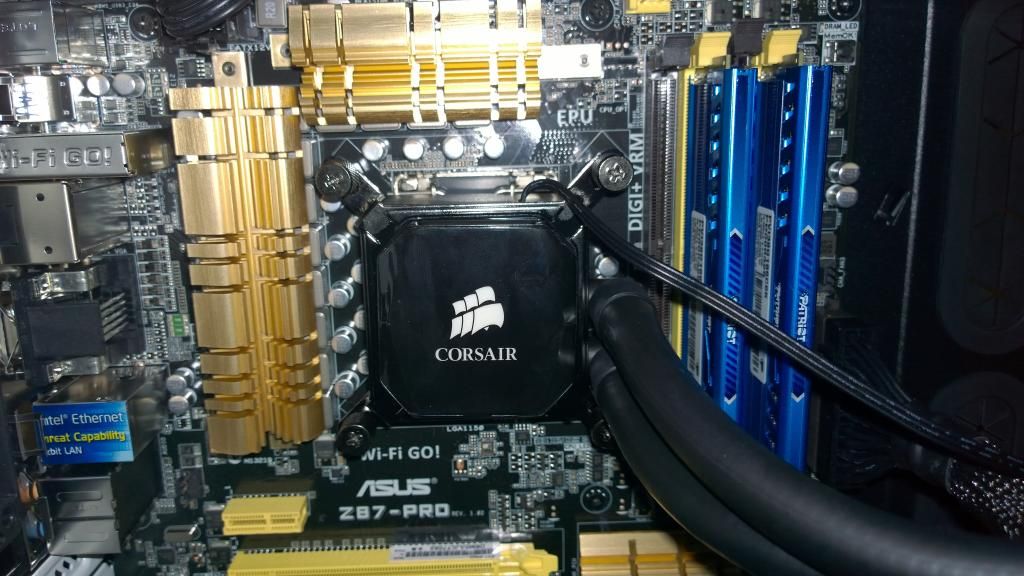
Next up was the H100i installation. At this point I was very occupied so forgot to take photos of the whole process. I have basically position the fans below the heatsink and have it as an outtake (so air is getting pulled from the case and out the top). Installing the H100i to the CPU was the most nerve racking part since I needed to make sure the thermal compound was covering the whole CPU and that it was screwed tightly in place.
Ok now most things are now in place, its was just a matter of going through the cables and connecting everything up.
Installed the final part the R9 280X card from Gigabyte and did some final connecting of cables. Time to do the first boot up, This was a HUGE pain for me, I actually forgot the connect one of the cables for the case power switch and couldn't figure out how to get it to work. It turns out I had forgotten to plug the switch in since there is 6 little tiny 1 pin connectors that connect the yellow area in the bottom right. It took a little bit of trial and error to get these in the right order.
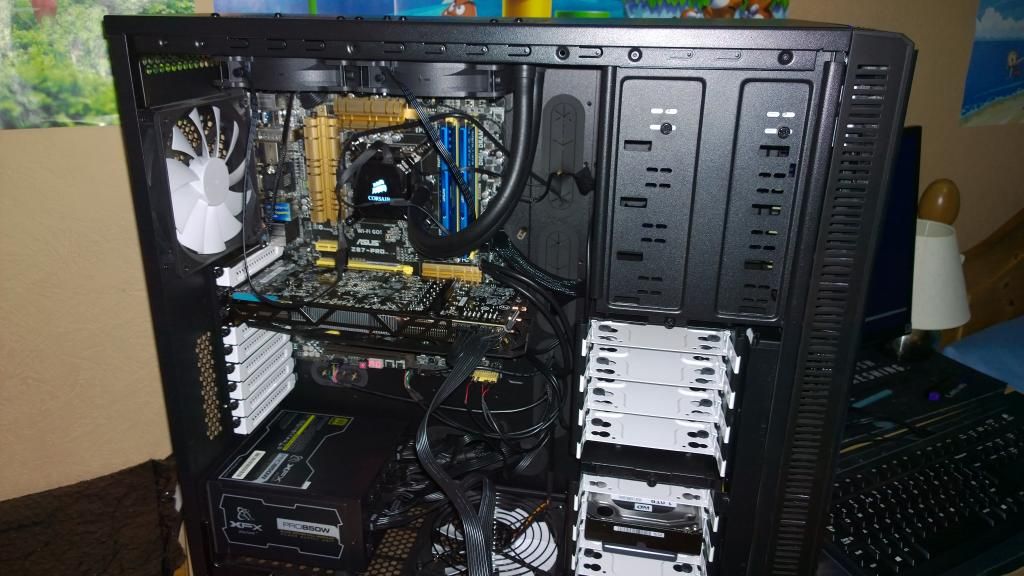
Ok so after some minor issues and installing Windows I was finally set up!
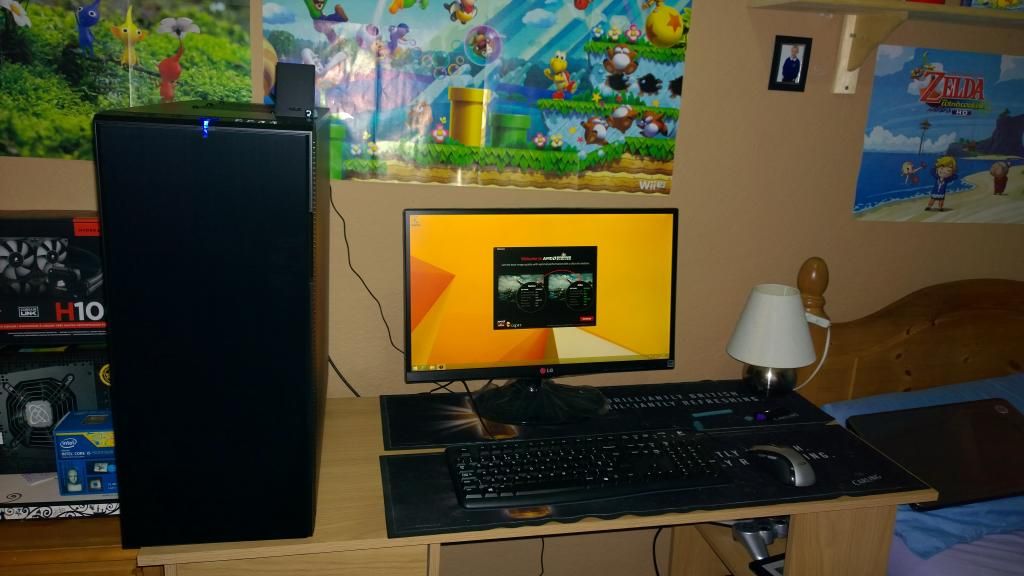
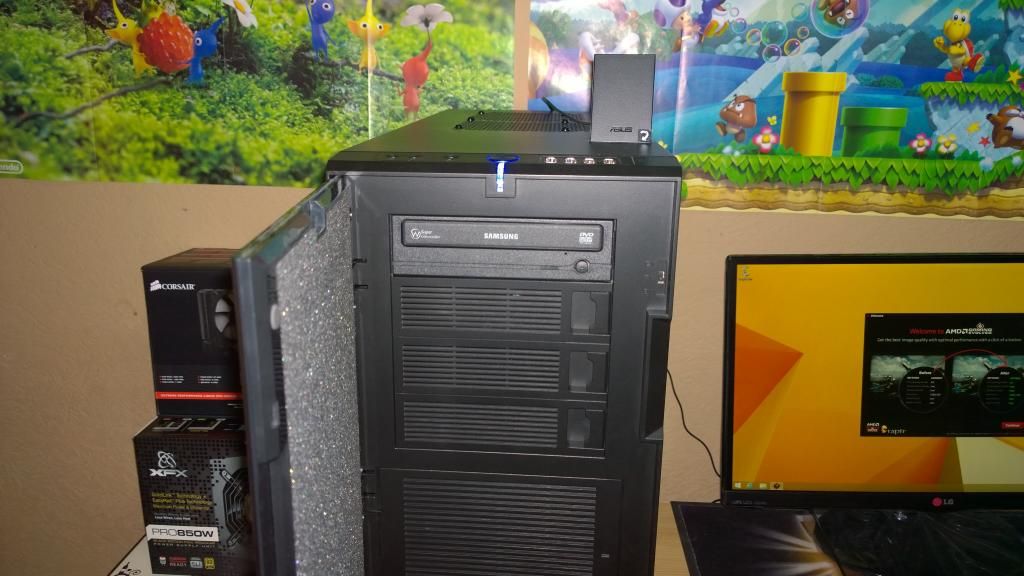
Just a final shot of the front door open and a closer look at the Asus Wi-Fi Go module (That thing on top). This thing is getting me a better signal than on my laptop!
Part 3: The next steps
1) Overclock the CPU, first I need to learn how.
2) Get my RAM up to the rated 1866Mhz
3) Install some game games and test it out
4) Do some benchmarks and share the results
5) Other minor bug fixes (drivers, software etc).
Anyway I hope you enjoyed this Build log, sorry that I couldn't take more pictures, I was fairly occupied most of the time (It took 3 hours to build). Please feel free to post comments and ask questions ![:)]()
